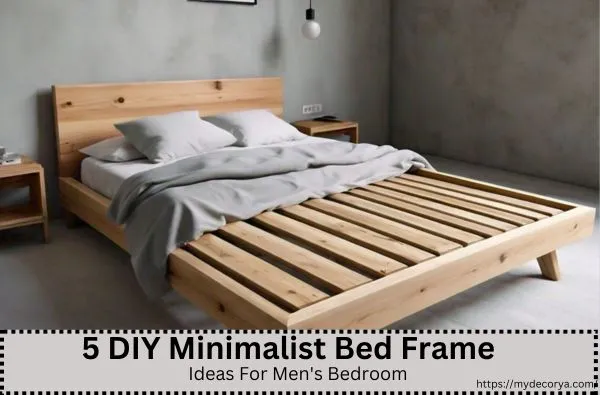
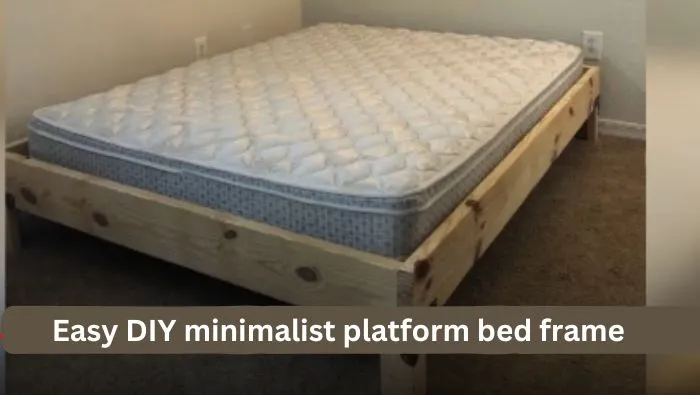
5 DIY Minimalist Bed Frame Ideas For Men’s Bedroom
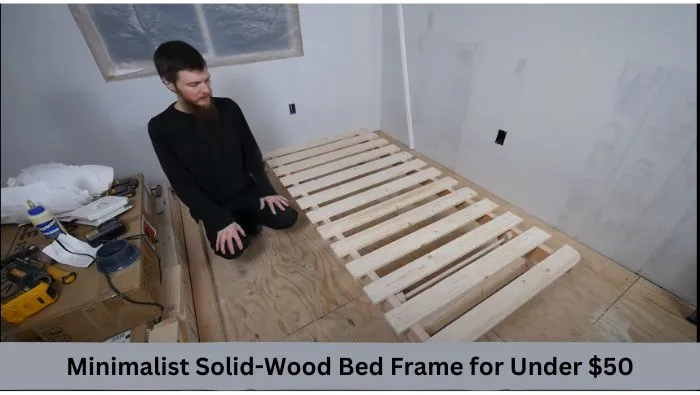
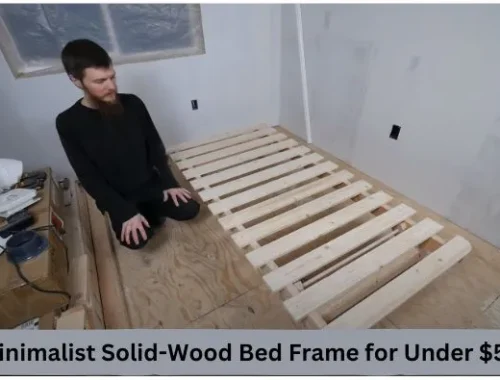
2. Minimalist Modern Bed Build with Free Plans in All Mattress Sizes
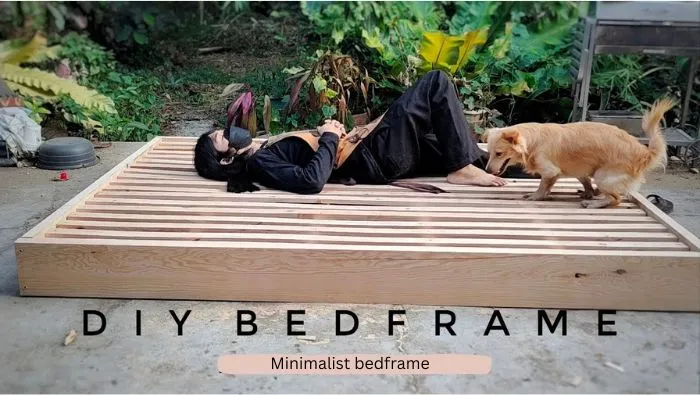
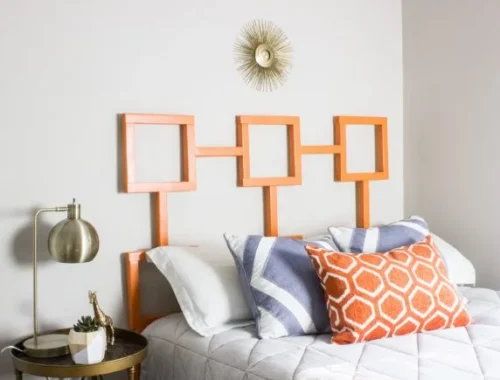
Now I’m going to show you how to build a bedframe, perfect for a men’s bedroom. This project combines style and functionality, creating a sleek and sturdy bed frame that fits any masculine décor.
Materials and Tools
- Free Step-by-Step Plan: Includes diagrams, a shopping list, and a cut list for all mattress sizes. Download it from the link in the description.
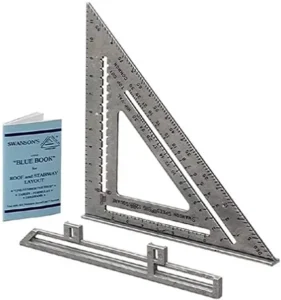
- Compound Miter Saw: Recommended for cutting the wood, ensuring quick, safe, and straight cuts.
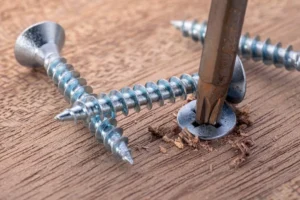
- Pocket Hole Jig: Set to three-quarter inch for drilling holes.
- Pocket Hole Screws: One and a quarter-inch screws for securing boards.
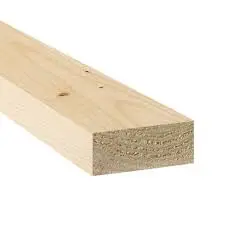
- Wood for Headboard and Frame: 1×8 boards, 1×3 boards for the frame, 2×6 and 2×4 boards for the footboard and side rails.
- Router: for rounding edges.
- Sandpaper: 120 grit and fine sandpaper for smoothing the wood.
- Stain and Paint: Golden Oak stain and white paint are mixed with water to finish the wood.
Building the Headboard
To start, I joined the boards for the headboard using a pocket hole jig. I set the jig to the three-quarter-inch setting and drilled the holes. Then, I used one-and-a-quarter-inch pocket hole screws to secure the boards. My friend helped me with the vertical method of attaching the pocket holes, which worked out well.
Adding Structure to the Headboard
The headboard was a bit flimsy with just the 1×8 boards, so we added a 1×3 frame to the back. This not only gave it more structure but also added a chunkier look. We attached these boards using three-quarter-inch pocket holes and one-and-a-quarter-inch pocket hole screws.
Constructing the Footboard
For the footboard, I cut a two-by-six to the required length and attached two-by-fours on the inside. This provided a solid structure and matched the design of the headboard.
Building the Side Rails and Legs
The side rails are constructed from two-by-sixes with two-by-fours on the inside. I also added legs to each side rail, ensuring they were built as mirror images for consistency. This part of the project was quick and easy to complete.
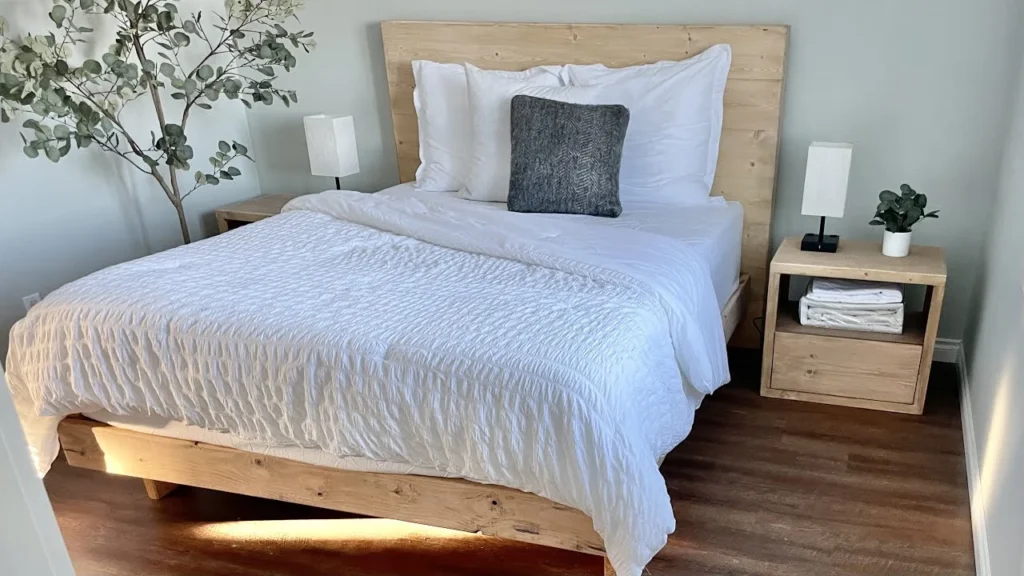
Finishing Touches
We decided to give the edges a rounded look using a router, as rounded edges are very trendy right now. After routing, we sanded everything with 120-grit sandpaper and finished with fine sandpaper for a smooth finish.
Staining the Wood
For the stain, I initially used a Golden Oak color, but it looked too orange. To tone it down, I mixed some white paint with a little water and applied it over the stain. This gave the wood a perfect color.
Assembling the Bed
In the room where the bed would be placed, I marked out where the side rails should go on the headboard, pre-drilled some holes, and attached the side rails from the back. The footboard was super easy to attach by just placing it in position and securing it with screws. The center support was also easy to assemble, and we added a center leg for extra support.
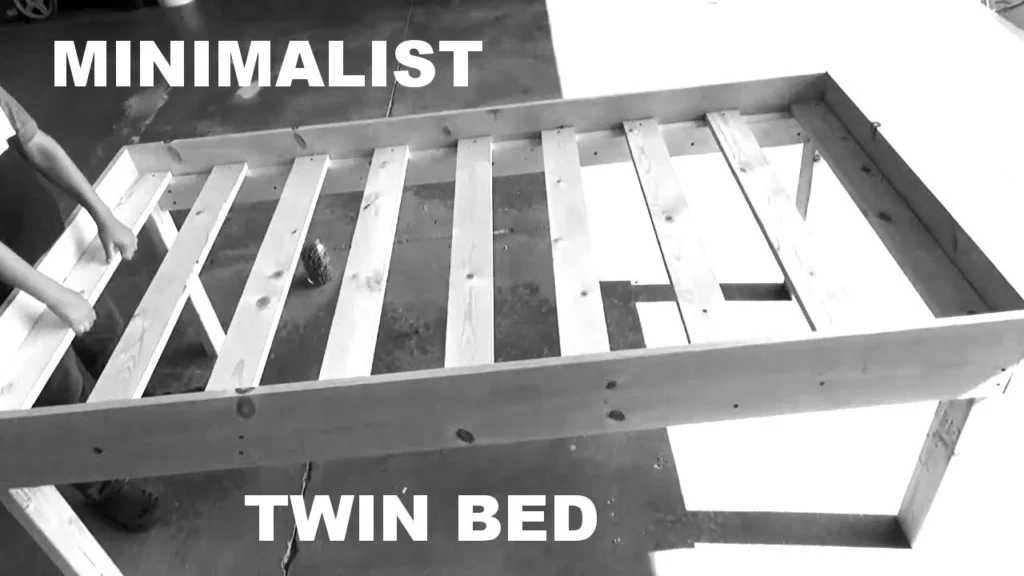
Adding the Slats
Finally, we placed the slats on top of the frame and screwed them down. This bed turned out to be not only beautiful but also very sturdy, thanks to the cantilevered legs that give it a stylish and fresh look.


Tuba Hassan
Hi, I'm Tuba, a digital marketer and content writer with several years of experience in my field. My expertise in Search Engine Optimization (SEO) and Content Writing has helped me create engaging and effective content that resonates with my target audience. I’m passionate about helping businesses grow and thrive by developing and executing marketing strategies that drive growth and increase revenue.

Benefits of DIY Bed Frames

You May Also Like
Can I make my own bed frame?
50 diy bed frame ideas for men’s bedroom