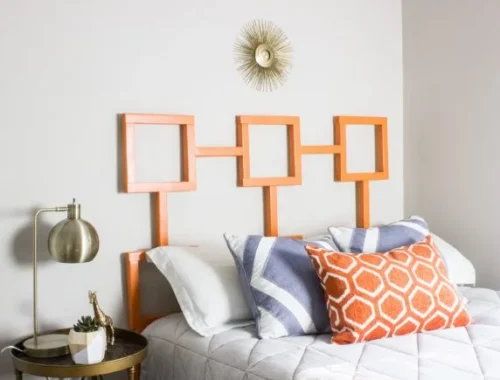
DIY bed frame for mens bedroom with supplies and materials
DIY bed frame for mens bedroom: Step-by-step Guide
Hey readers, if you are looking for diy bed frame for mens bedroom, then you are in the right place. In this particular blog about the essay DIY bed frame, I have explained my expertise, the step-by-step guide, and the best tips and tricks I gained during the construction of a simple wooden bed frame for a man’s bedroom. I will tell you how to build a modern DIY bed frame for your bedroom, the best materials you will need, and the maintenance of the home-made bed frame.
But before I start, I want to discuss some of the potential benefits of a DIY wood bed frame that will give you some motivation to start your own DIY bed frame as soon as possible.
Benefits of DIY Bed Frames
DIY bed frames have several advantages that go beyond their usefulness. Here are some strong reasons why making your own bed frame may be a profitable start:
- Cost-effectiveness: Making your own bed frame might save you a lot of money compared to buying one from a store. By obtaining materials yourself and using widely available equipment, you may reduce the costs, that include store prices and installation fees.
- Customization: One of the most attractive parts of DIY bed frames is the option of customizing the design to your specific tastes and needs. Whether you want a minimalist platform design or a rustic farmhouse atmosphere, you may select materials, finishes, and measurements that exactly complement your concept for the room.
- Sense of success: Creating something with your own hands provides a special sense of satisfaction. Building a bed frame from scratch allows you to learn new skills, express your creativity, and conquer problems. The sense of fulfillment and achievement that comes with finishing a DIY project is outstanding, making it a very satisfying experience.
Step-by-Step Guide to Building Your Cheap DIY Bed Frame on a budget

Last weekend, I built this easiest DIY bed frame for myself, and now I am going to explain each and every step of how I built it. But before you start your own DIY bed frame, the first thing you need to do is collect all the necessary tools and materials. I have mentioned all the tools below with an affiliate link, so you can easily buy them from Amazon.
Necessary Tools and Materials
Below are the Simple Diy bed frame materials;
| Tools | Buy Button |
|---|---|
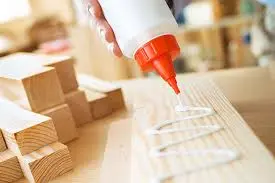 Wood Glue Wood Glue |
|
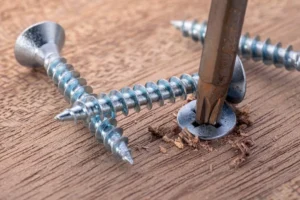 Screws Screws |
|
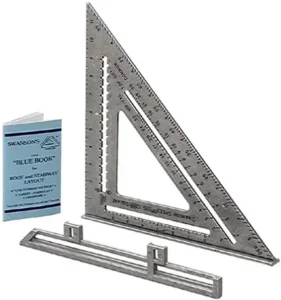 12" Speed Square 12" Speed Square |
|
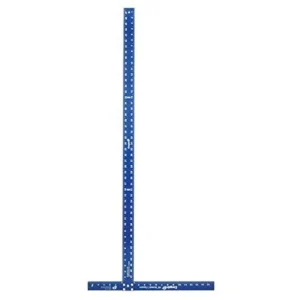 Drywall Square Drywall Square |
|
 Water Based Poly Water Based Poly |
|
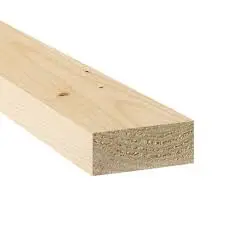 2x4's: Home Depot 2x4's: Home Depot |
Step 1 of building a Diy bed frame
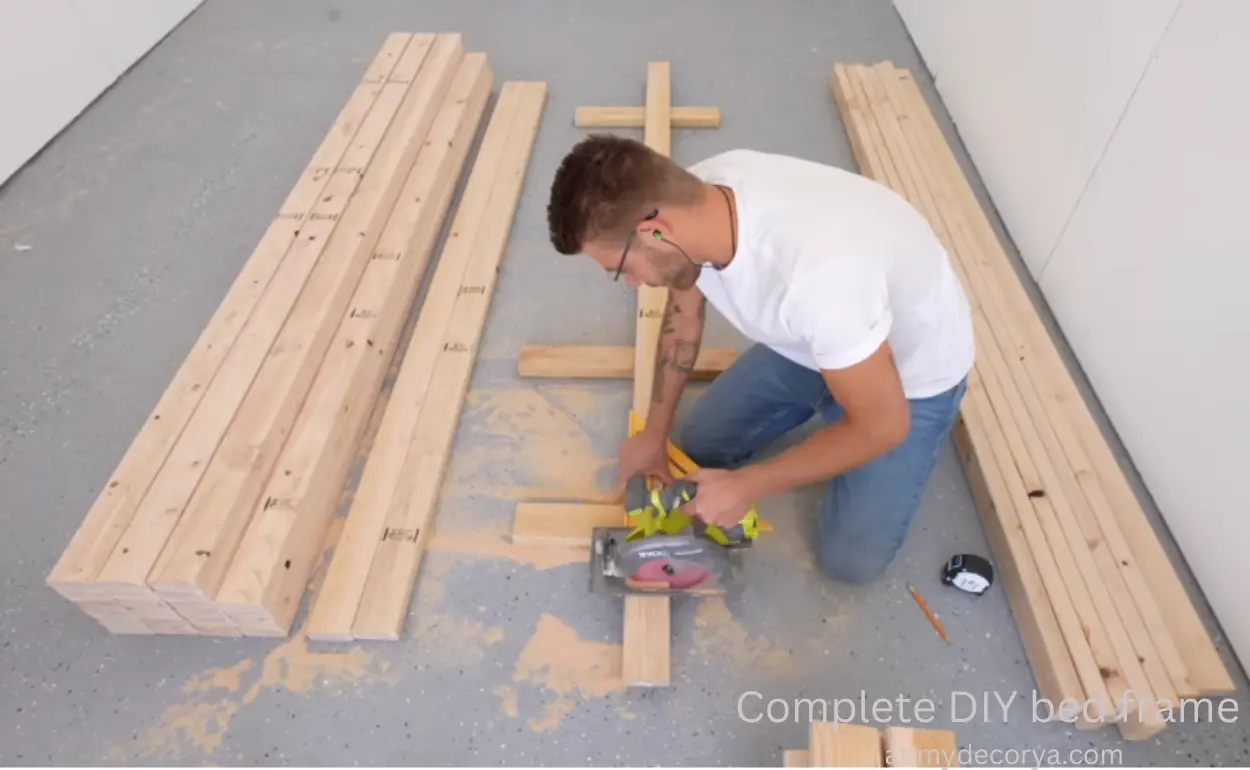
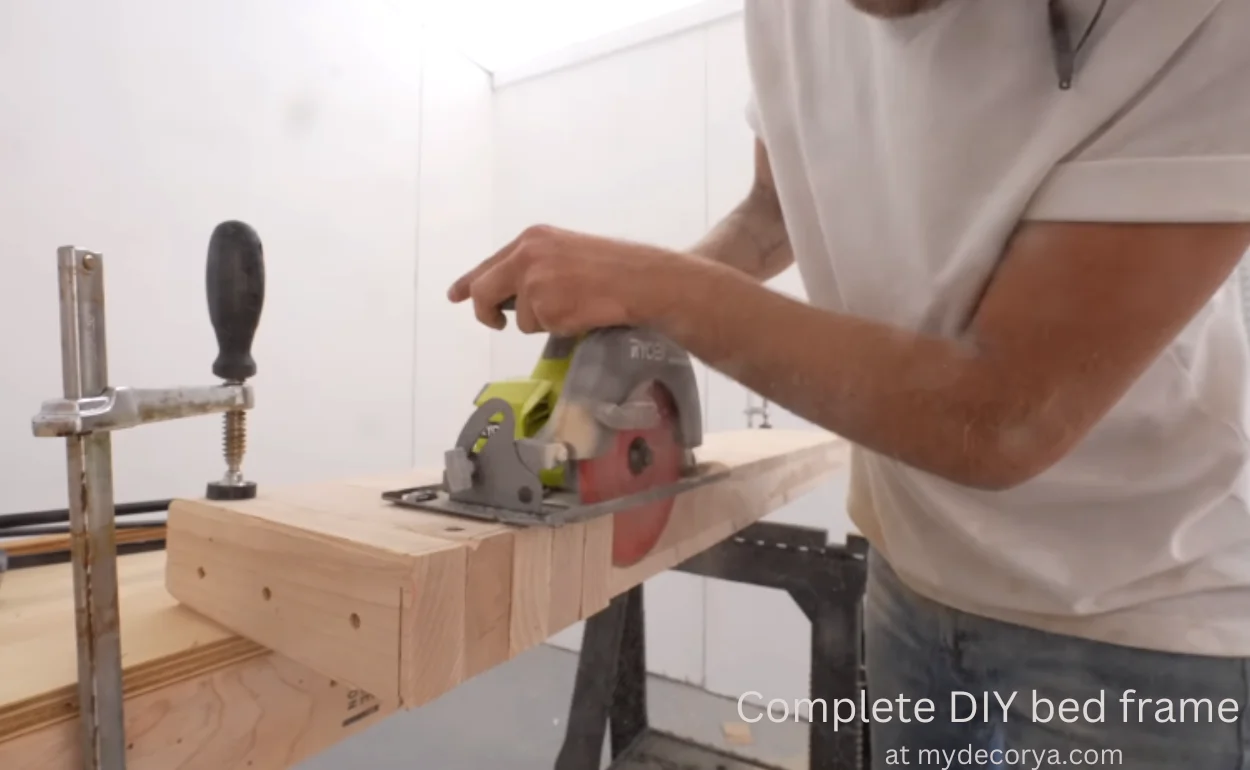
I started this project by breaking down a whole lot of two-by-fours. I went to my local Home Depot, and I got as many straight, clean, two-by-fours as I could find. And here I’m breaking down 30 of them to 88 inches long. 22 of them are going to be used for our platform, and we’re going to save the other eight for later.
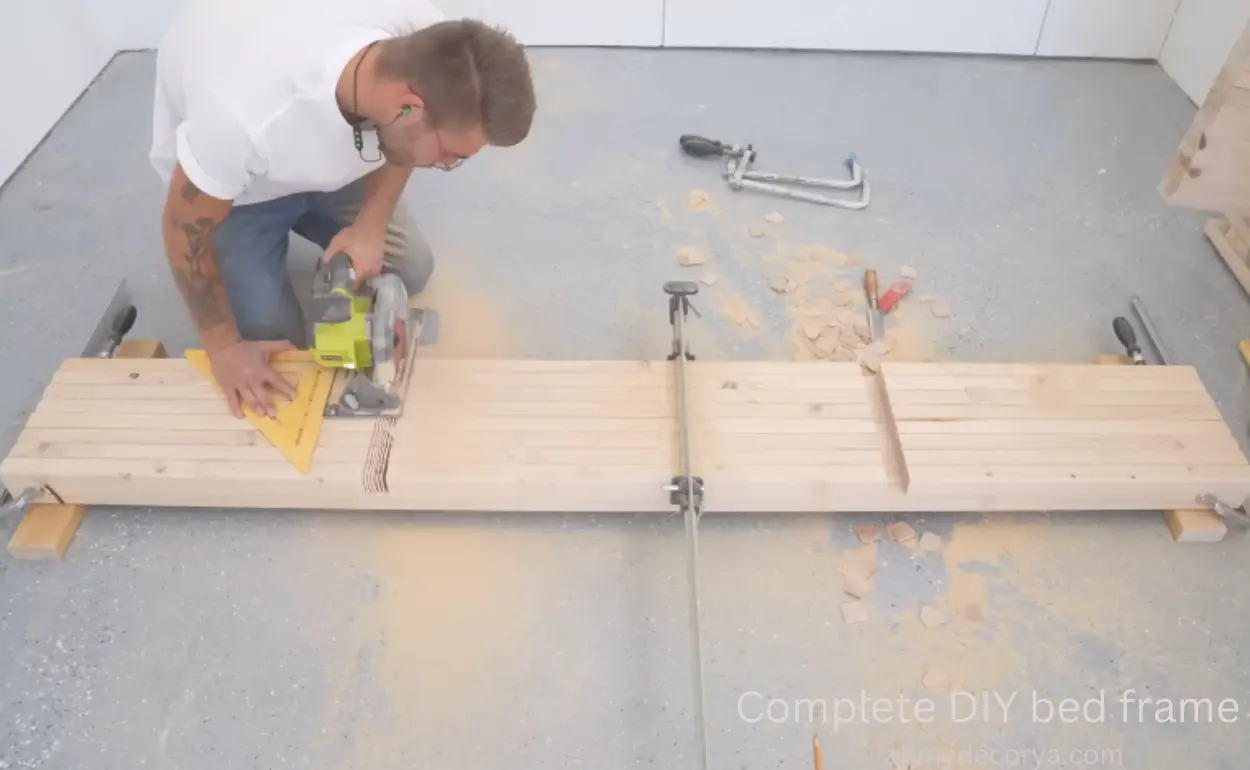
I made sure to use a high tooth count, a circular saw blade, and a 12 inch speed square to get good cuts. The majority of these boards are going to be covered by the mattress, so I made sure and used the good ones towards the edge where they’ll be visible. I also made sure that all of the good ends of the boards were facing the foot of the bed.
Step 2 of building a Diy bed frame
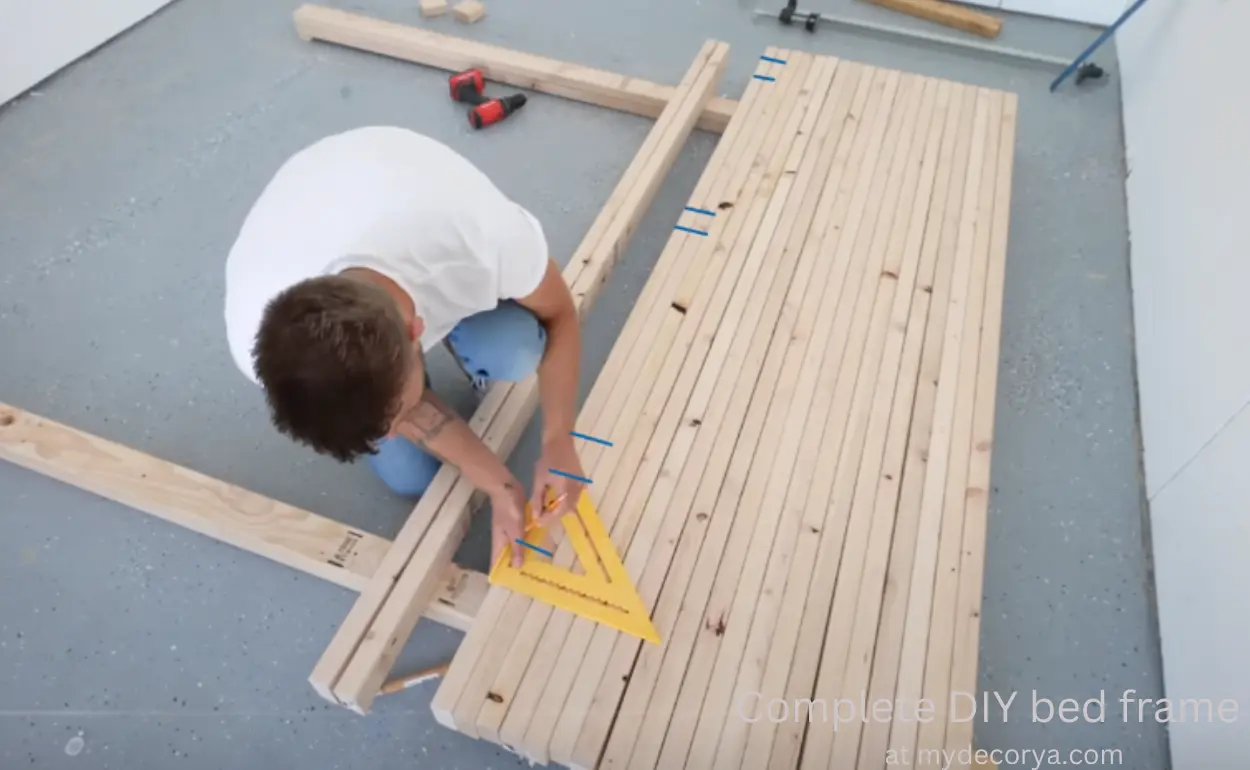
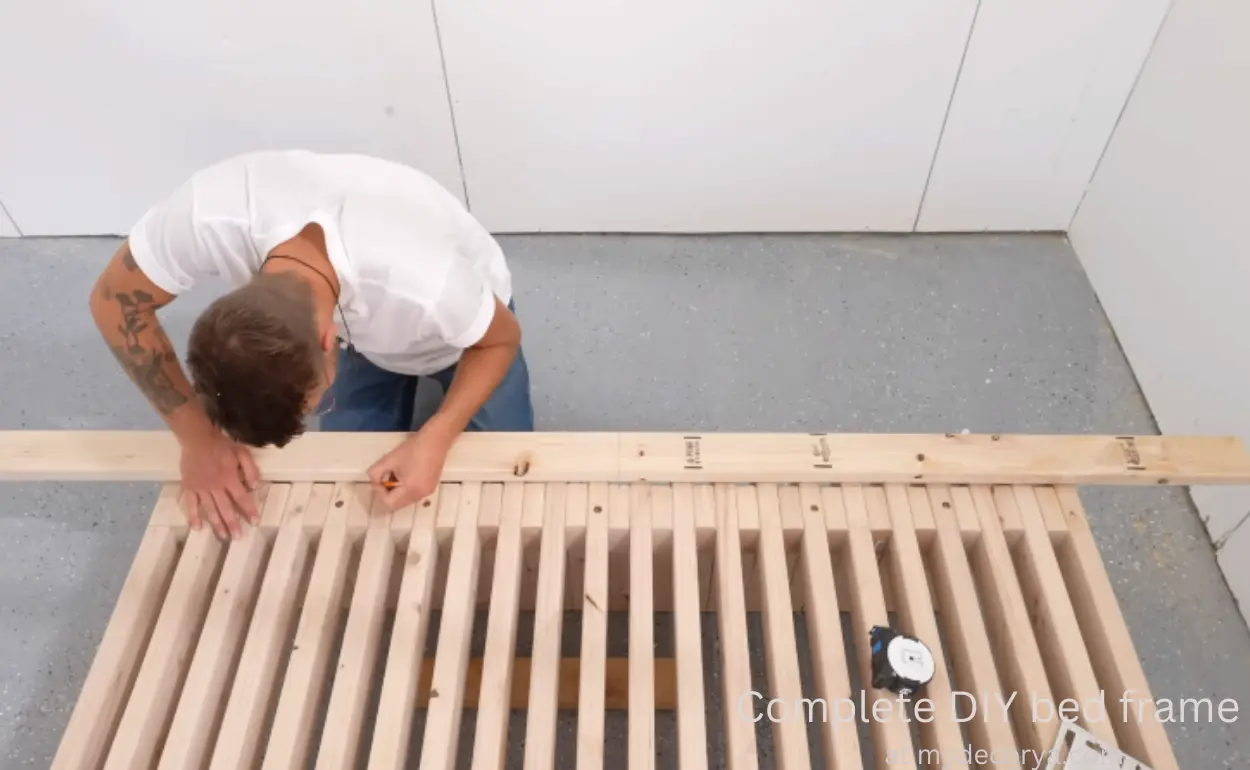
Then I turned one of the two by fours into a template so that I could make marks where each of my spacer blocks are going to go on every single, two by four. Then I used an eighth-inch bit to pre-drill, where I’ll be screwing all of my boards to the spacers. This was a little tedious, but I knew that it would help everything. A simple square later on for this bed.
Step 3 of building a Diy bed frame
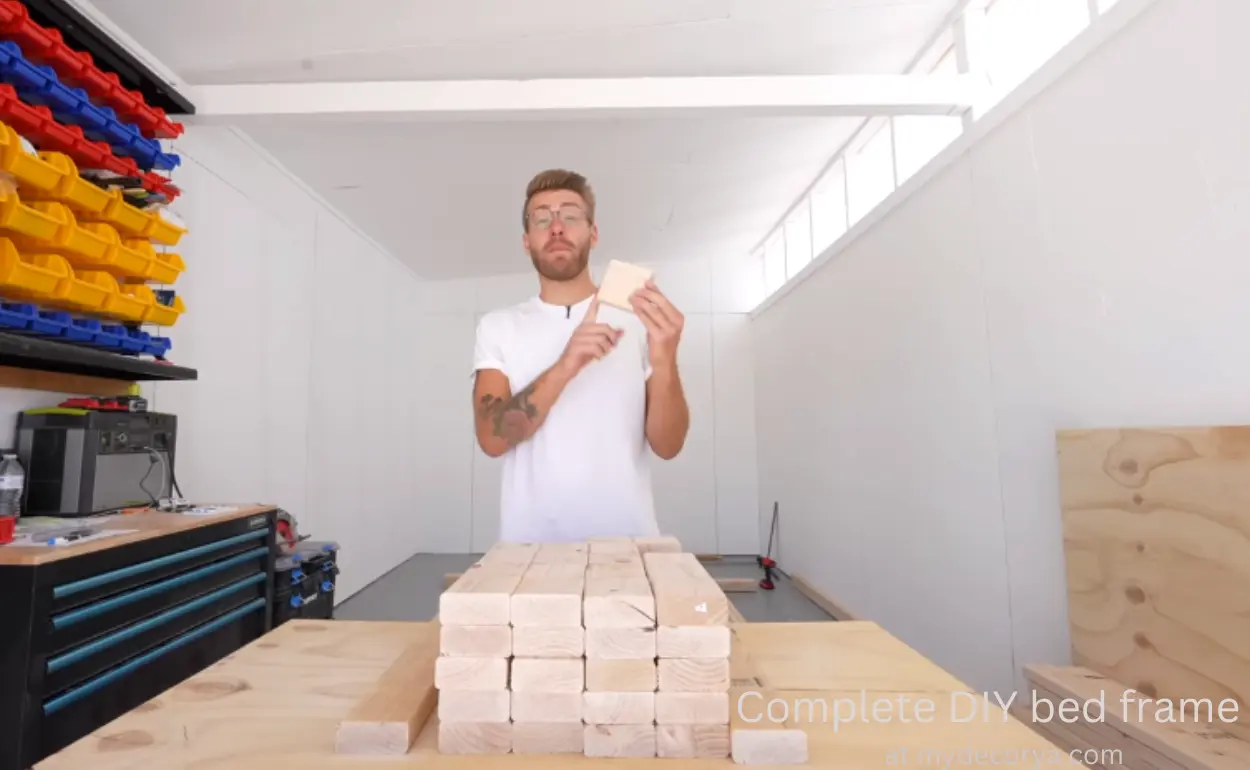
We’re also going to need a whole lot of these 3.5-inch by 3.5-inch spacers.
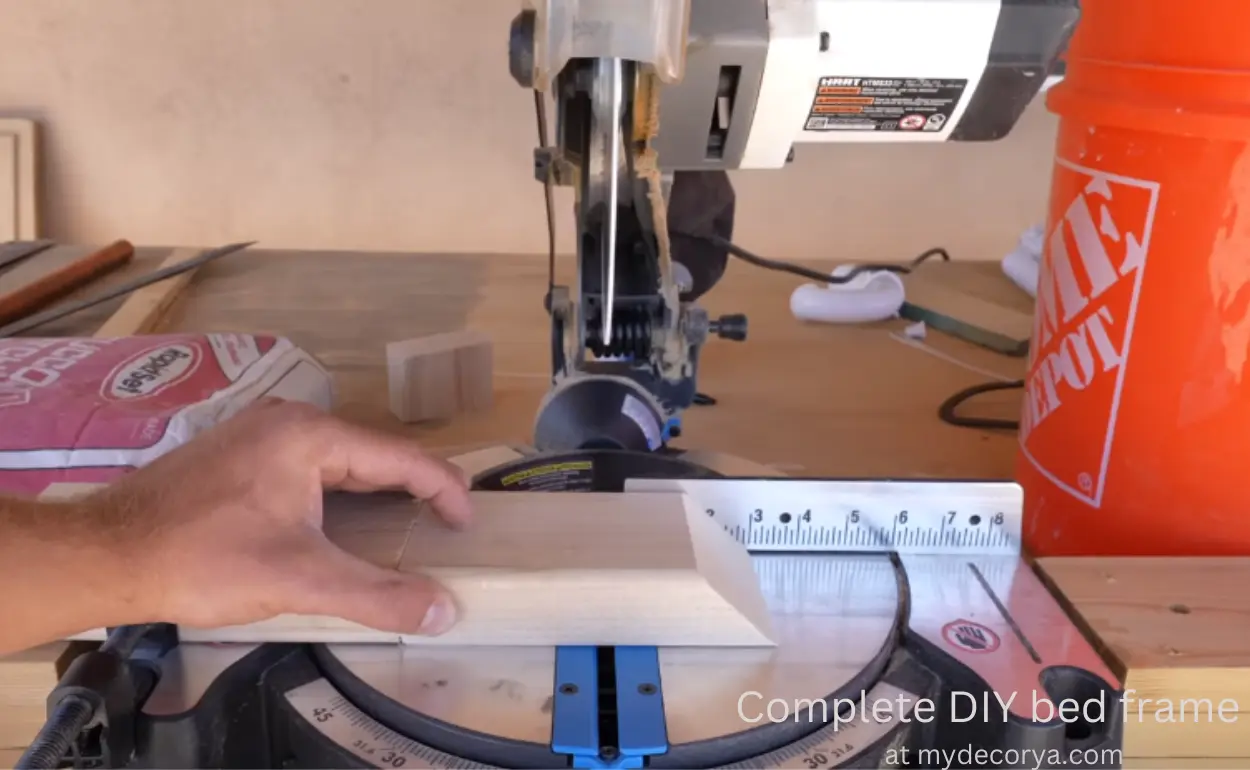
To cut them. I set up a stop block on my miter saw. That way, I could utilize all of these short scrap pieces of wood that I had lying around, especially since two-by-fours are so expensive right now in my area. Two-by-fours are right around seven bucks. But I’m curious, where are you guys based, and how much are you paying? Leave a comment down below.
Step 4 of building a Diy bed frame
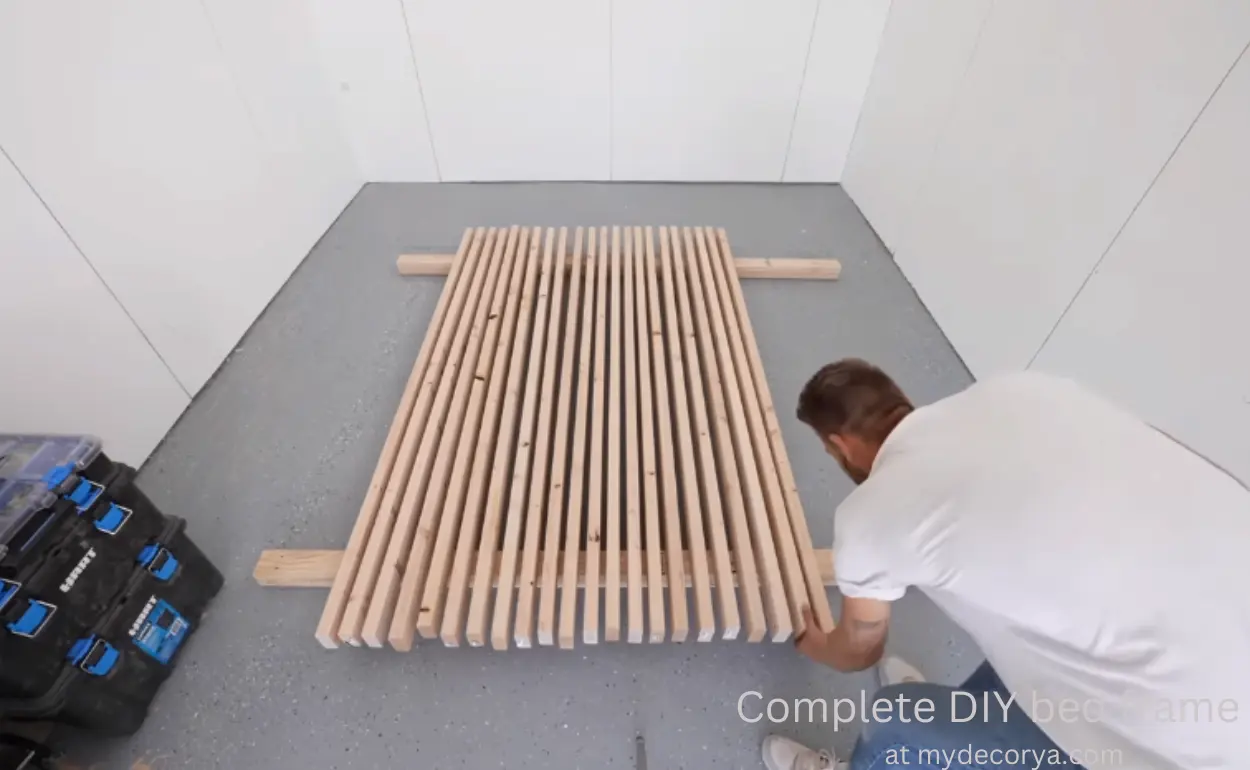
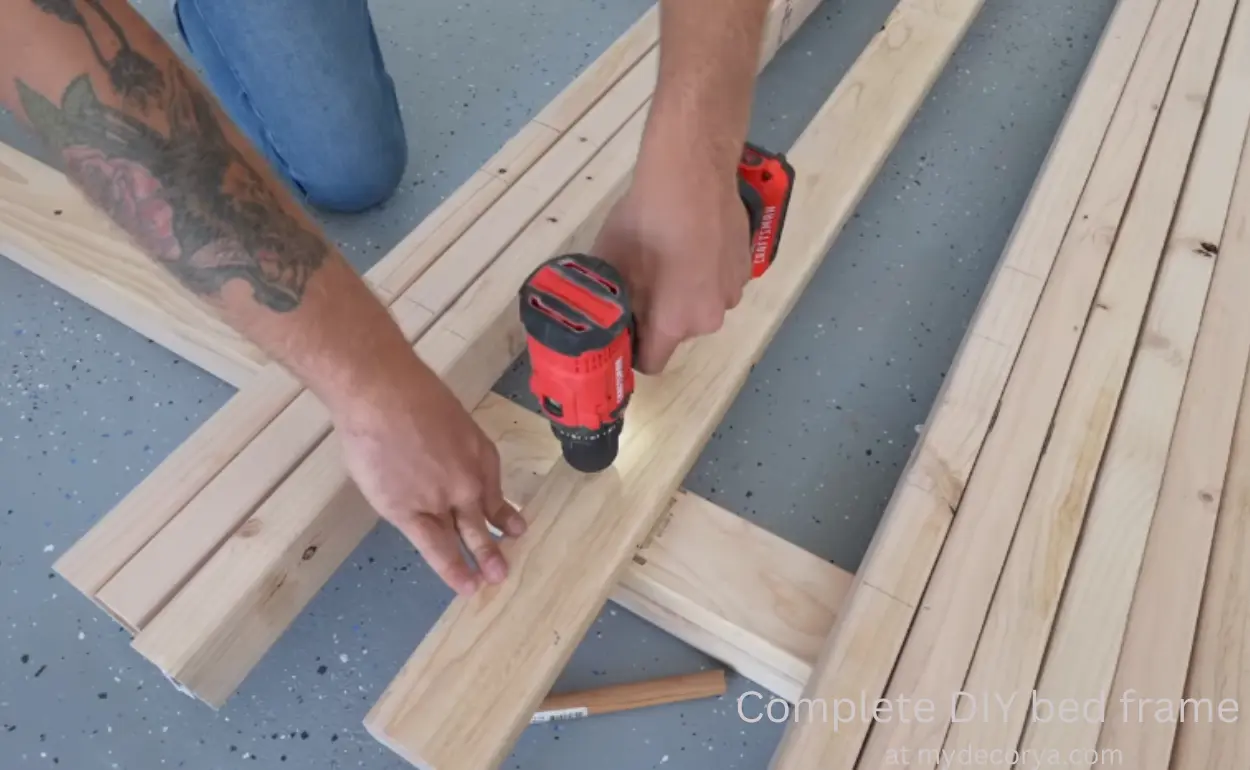
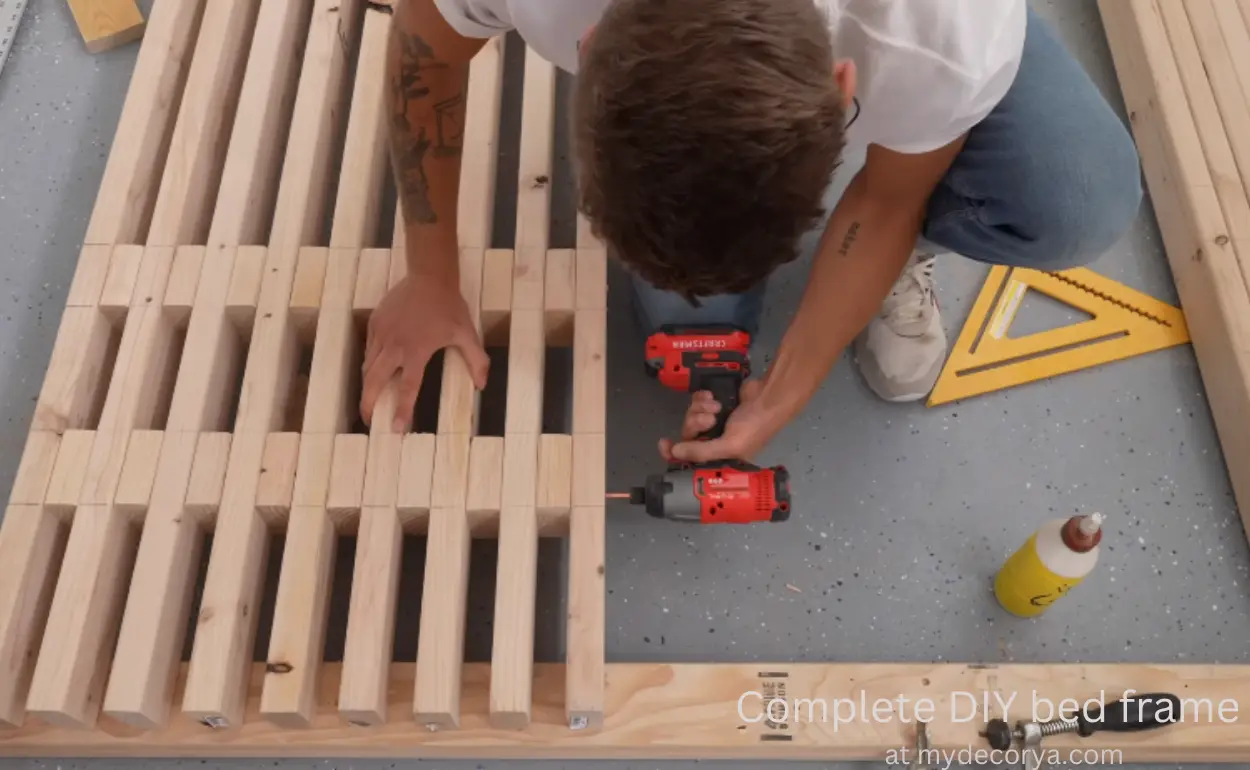
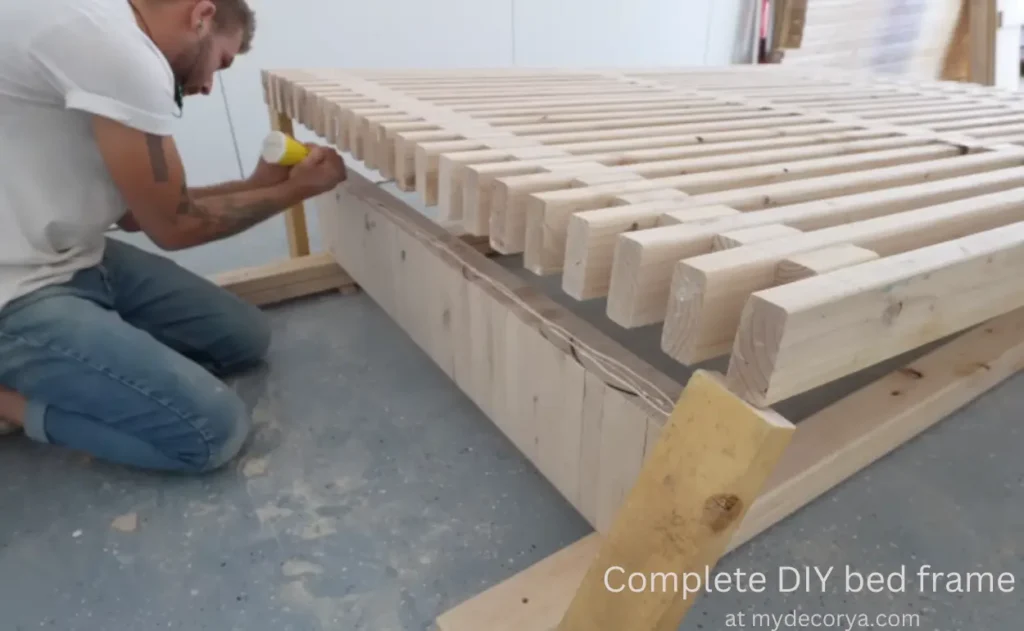
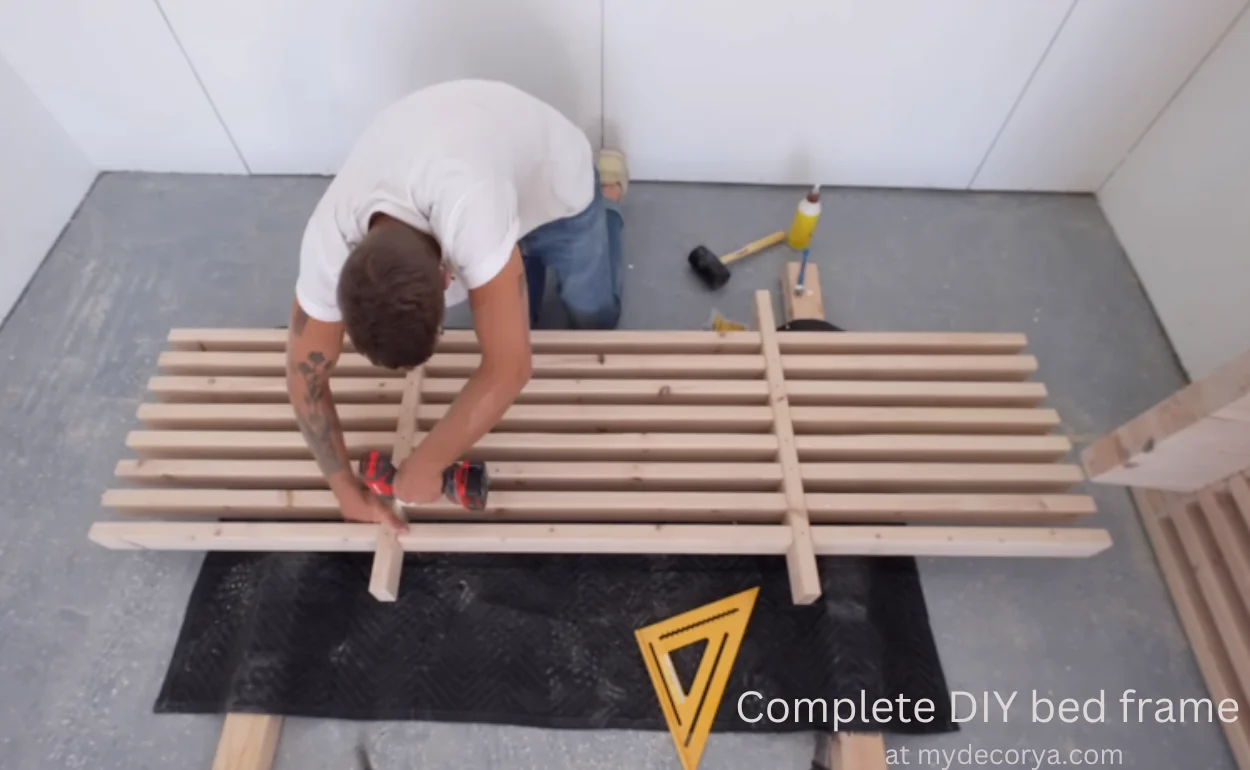
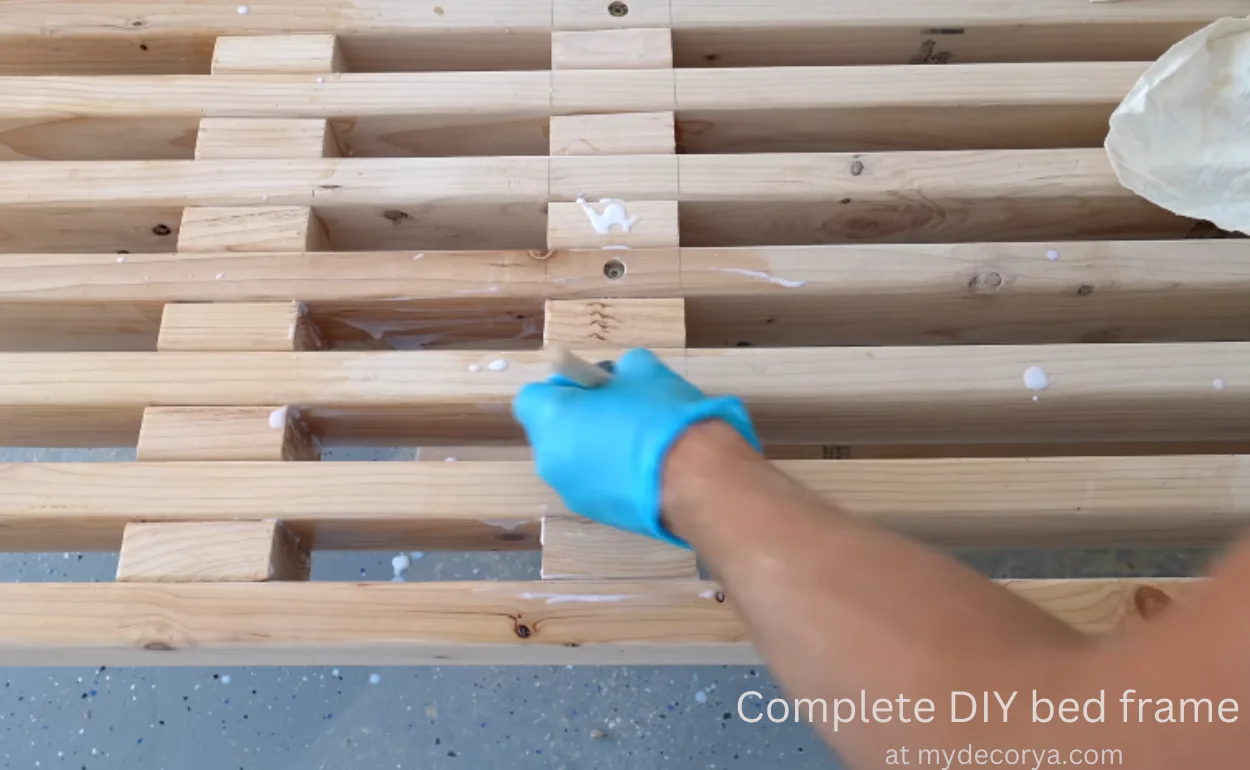
And now it’s time to assemble this base.
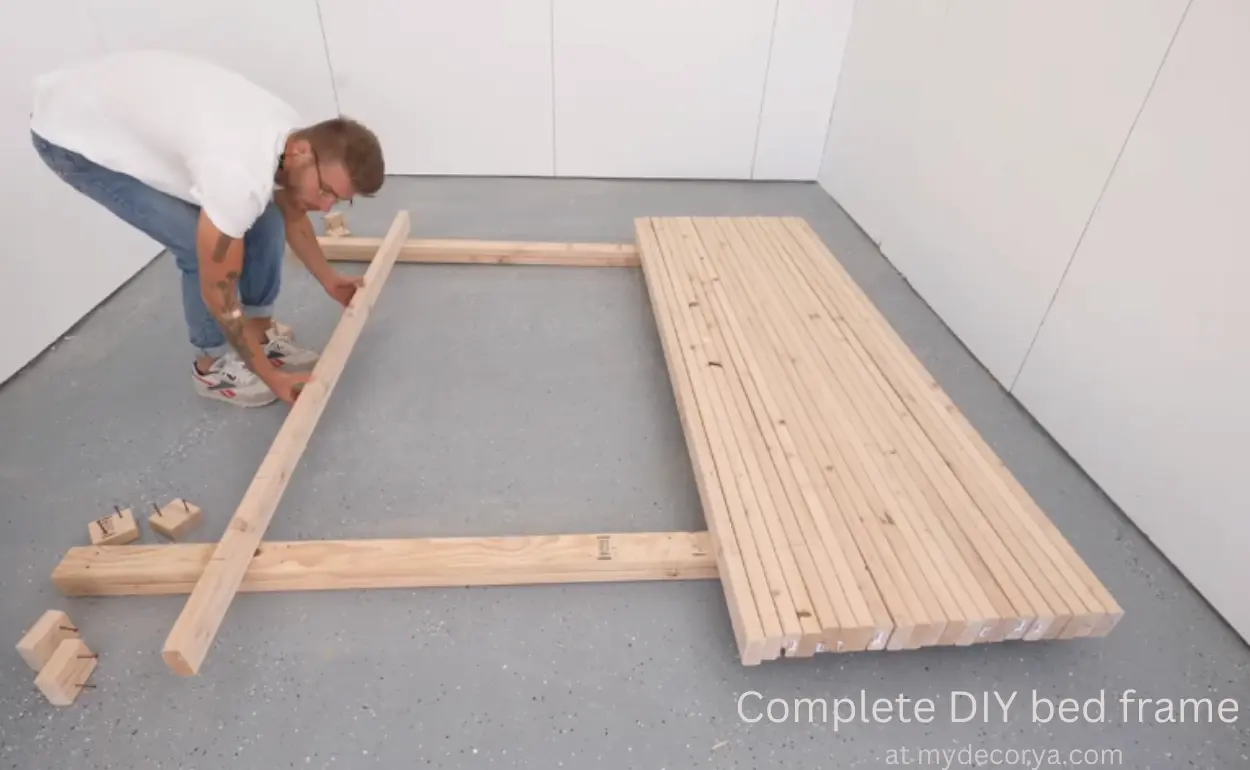
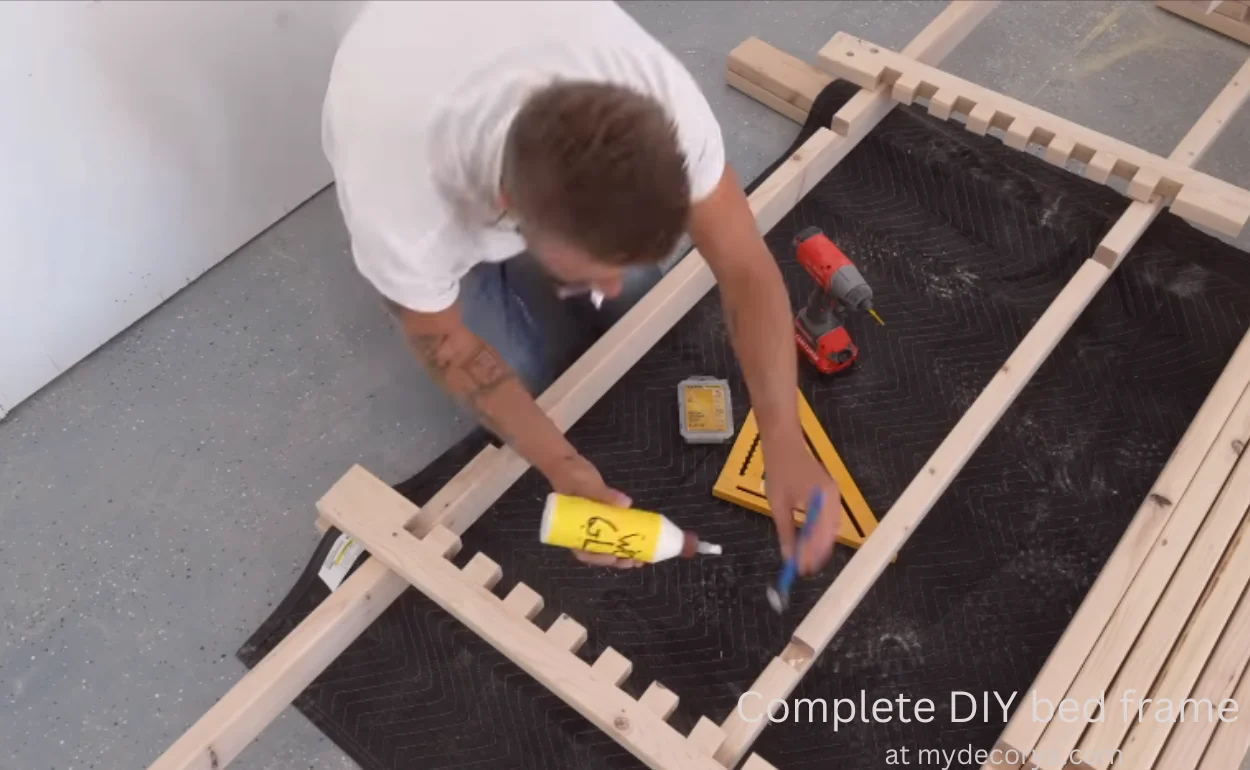
I made sure to use wood glue on every spacer and every board where they met.
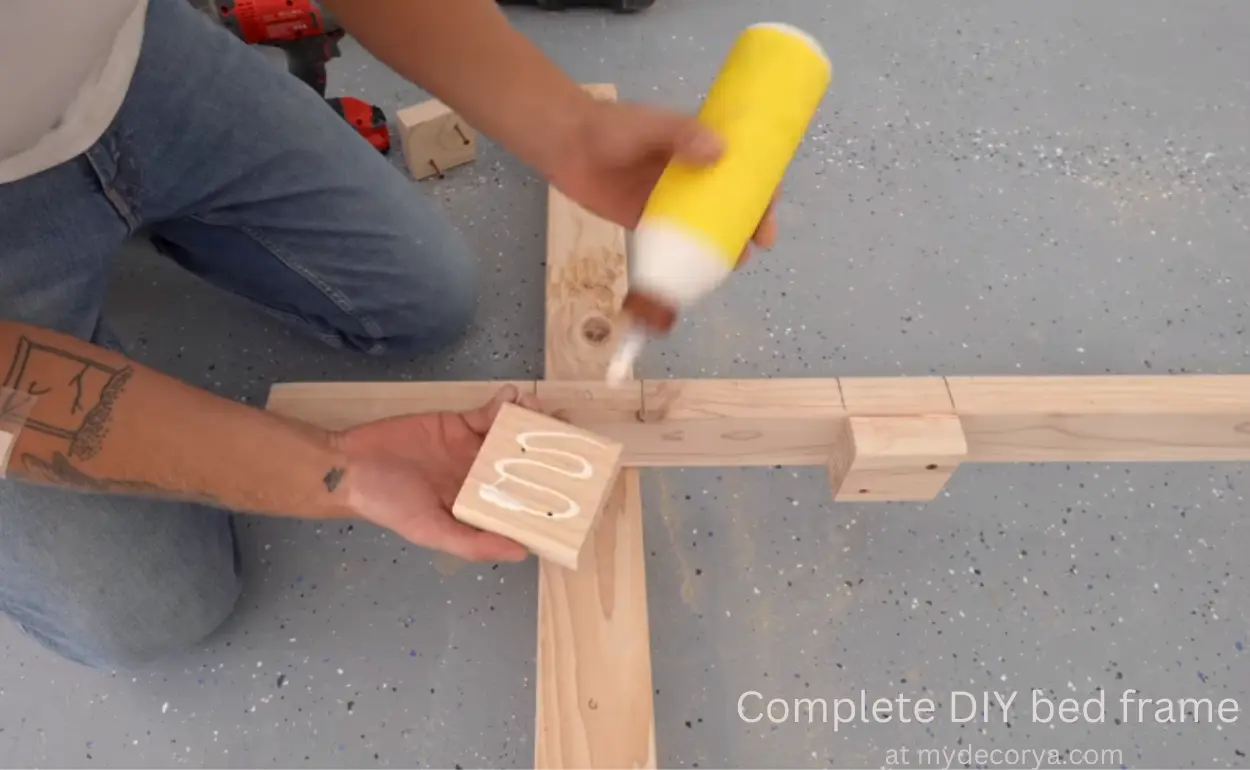
That way, the screws could hold everything in place, and the glue could harden and hold everything together long term. Notice how I put two screws in each spacer, and then whenever I put on the next slat, I put two screws in facing the opposite orientation.
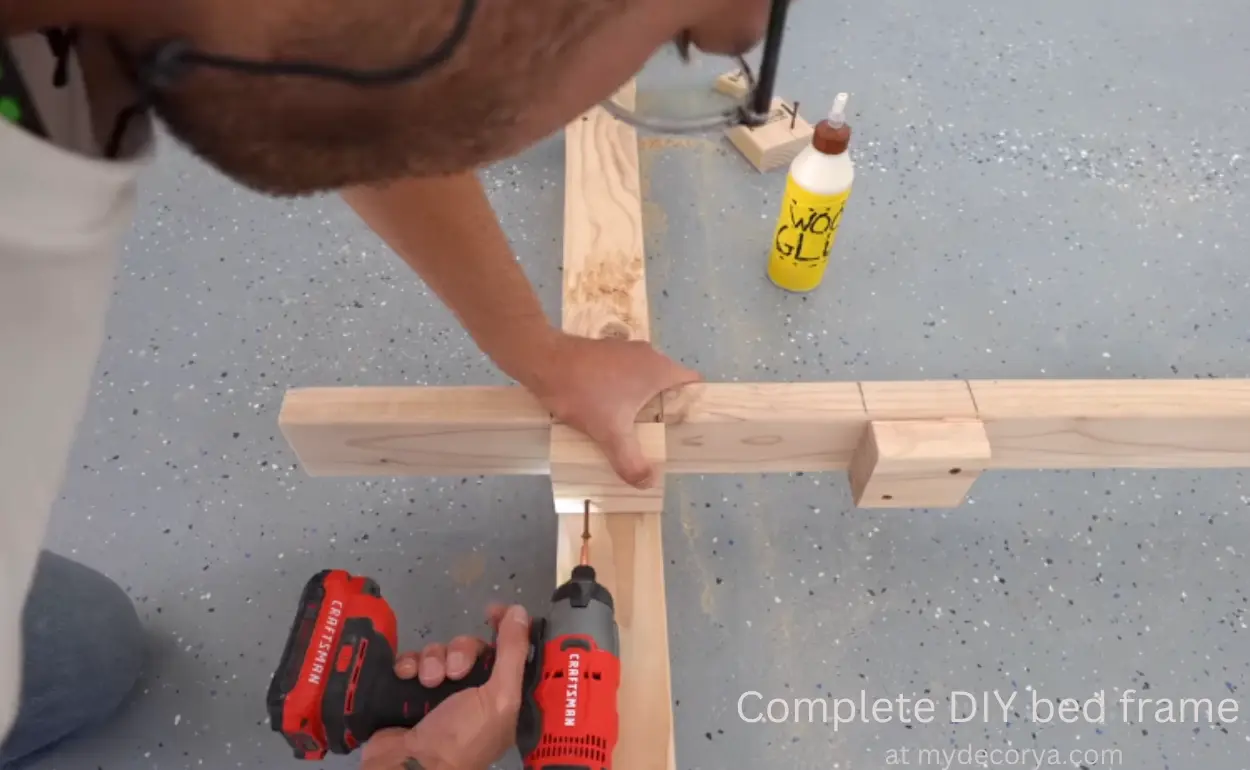
That way, they sort of made an X, so I didn’t have any screws running into the ones behind it. I do want to be up front. Even though this process is simple, it did take a long time. I spent an entire day just assembling this base, but I think it was worth it.
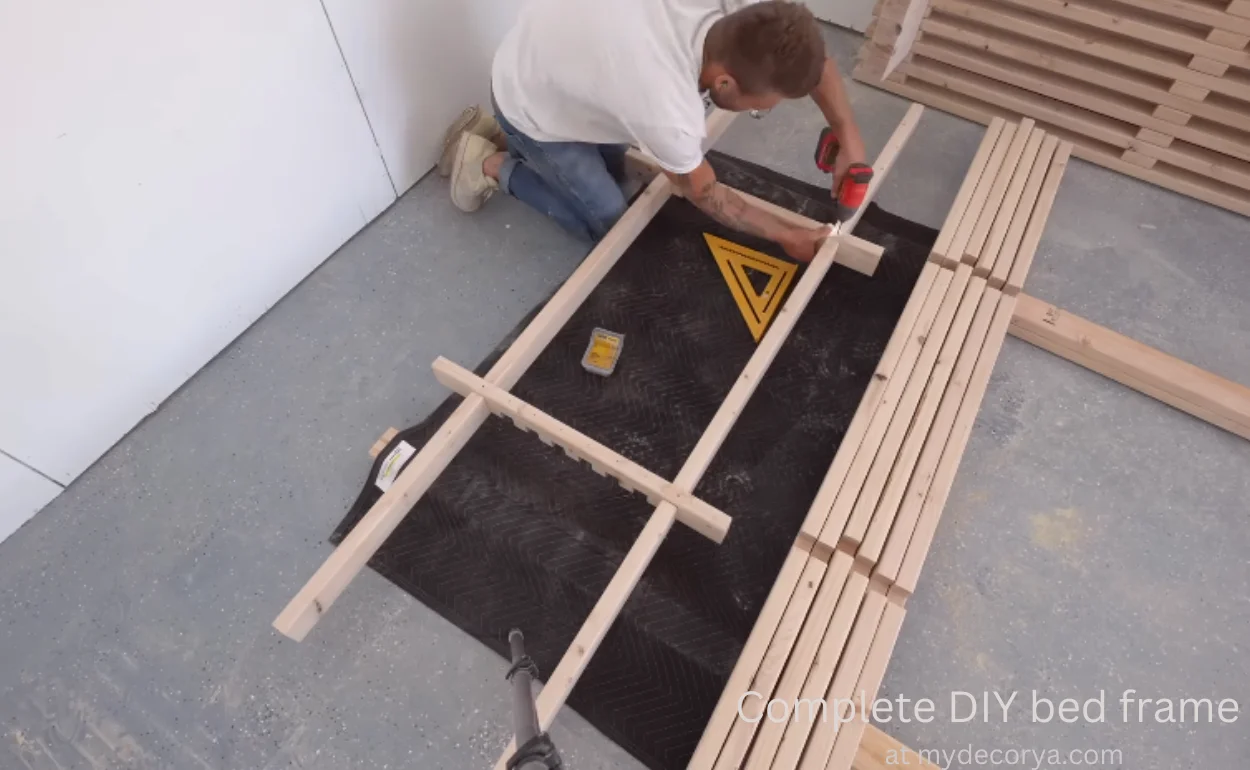
On the foot side of the bed, the slats extend nine inches past that last spacer. On the headboard side, there’s only a 3.5-inch gap, the width of a two-by-four.
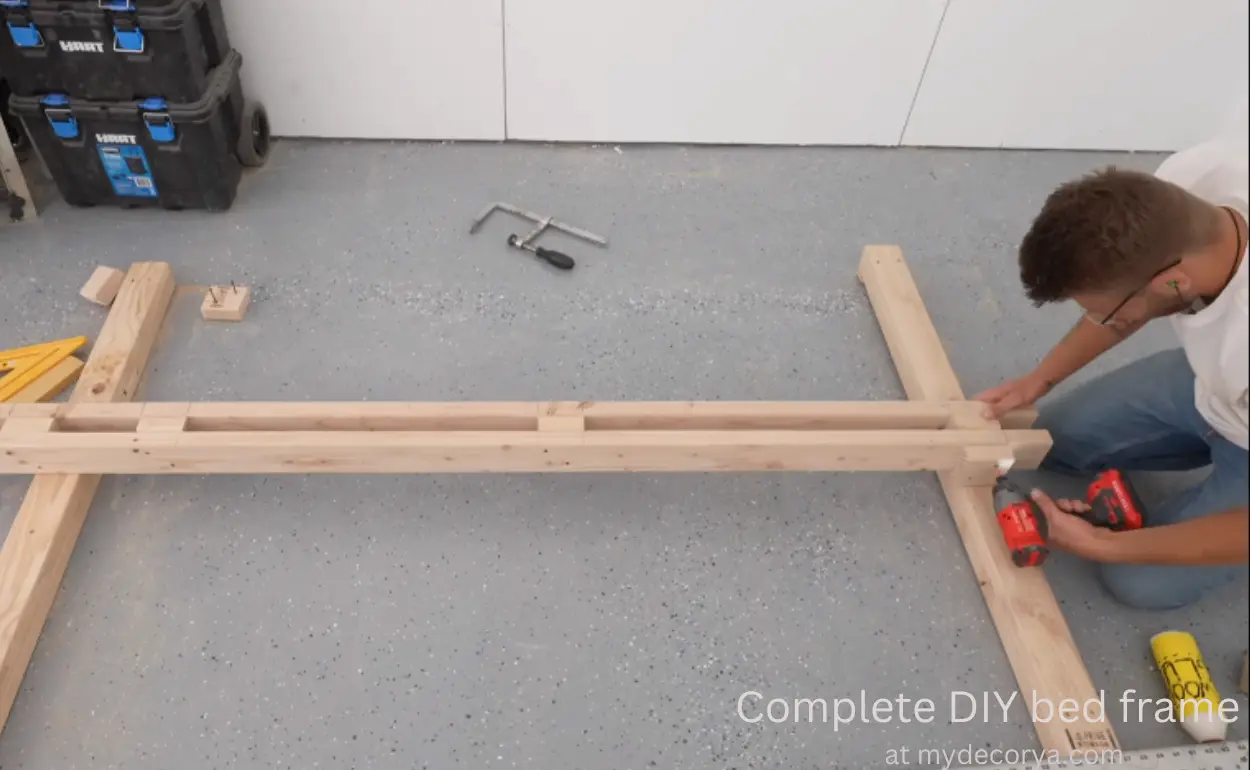
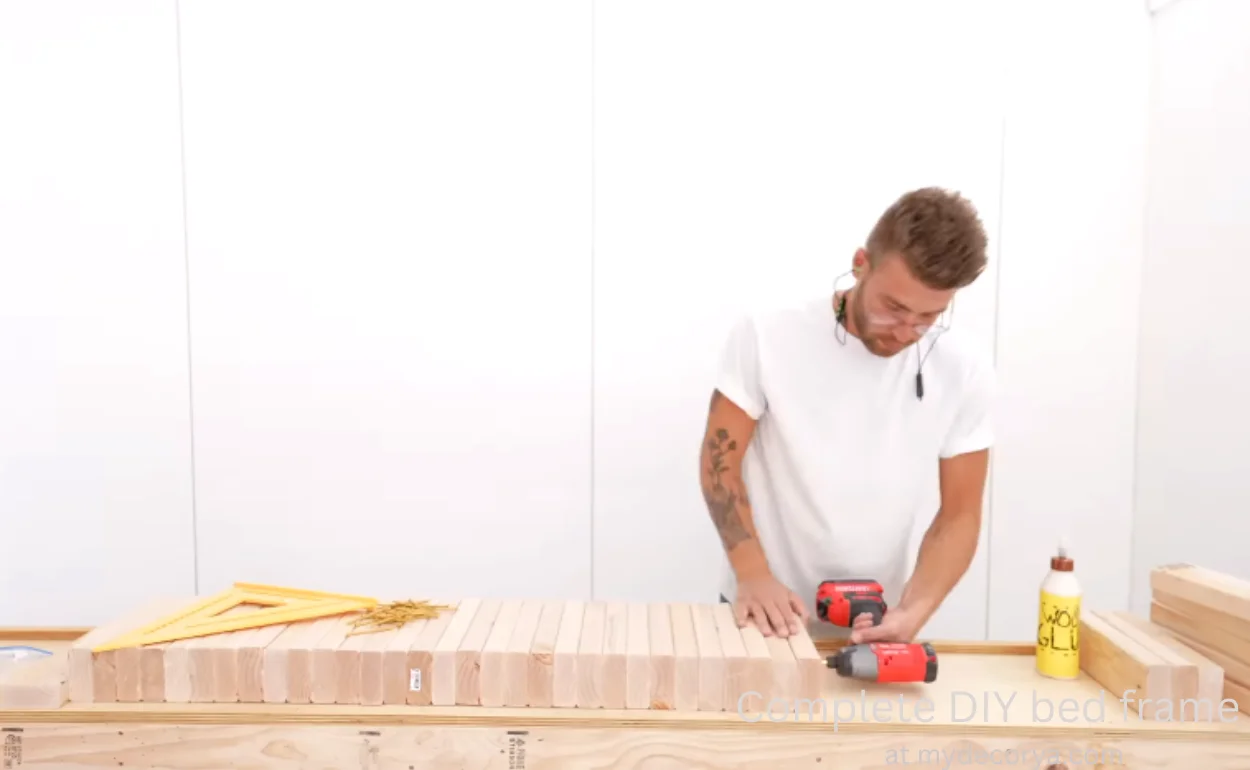
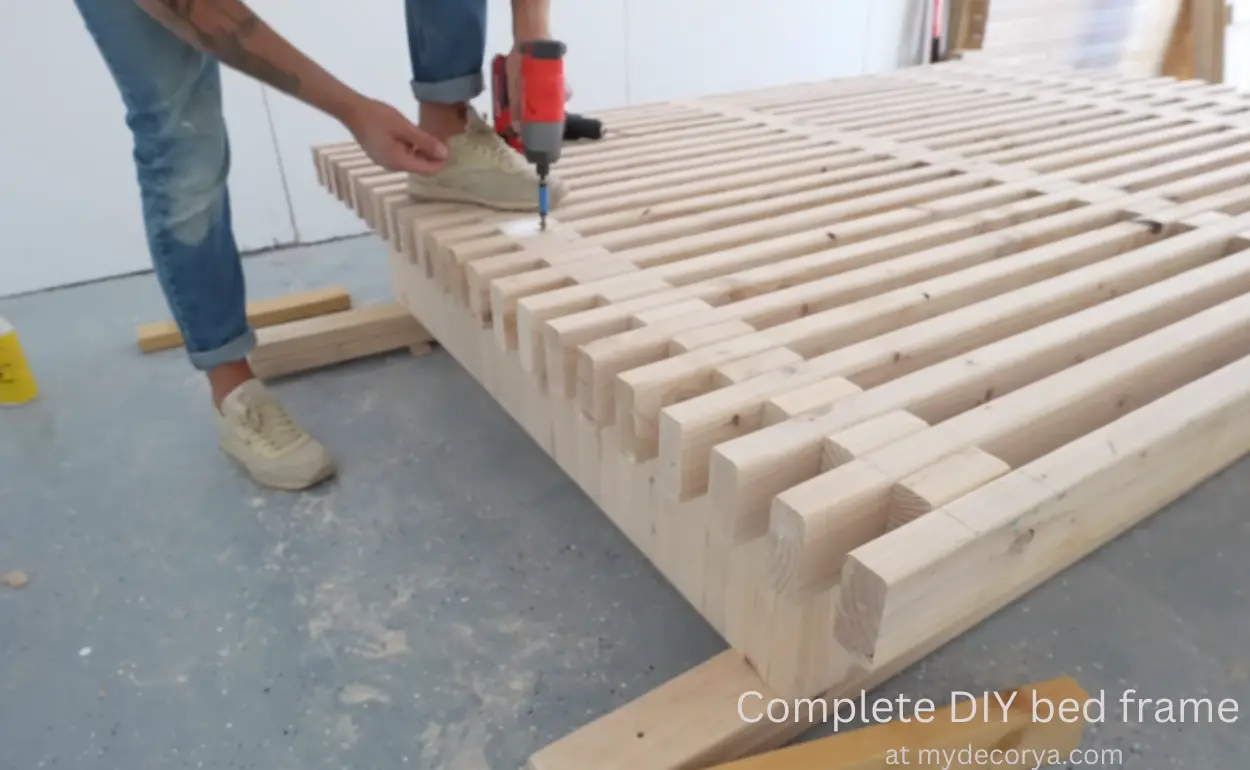
While I worked, I kept a 48 inch drywall square with me. That way, I can make sure that the ends of all of my slats meet square, along with all of my spacers. I gave myself about an eighth of an inch of margin, knowing nothing needed to be perfect. And you can see that I switched over to finish head screws on the last slat.

Wow, that’s really sturdy. And with that, our platform is complete. And now we need to make some legs for it.
Step 5 of building a Diy bed frame
By now, I had used up the majority of my good two-by-four scraps. So I started cutting down some more boards into ten-inch-long pieces. I’m going to be making nine-inch-tall legs, but I will be trimming them to length later on. Overall, I’m going to need 70 pieces.
There we go.
I’ll be gluing and screwing these pieces together, just like before. And I made this really quick jig to make sure everything went together square.
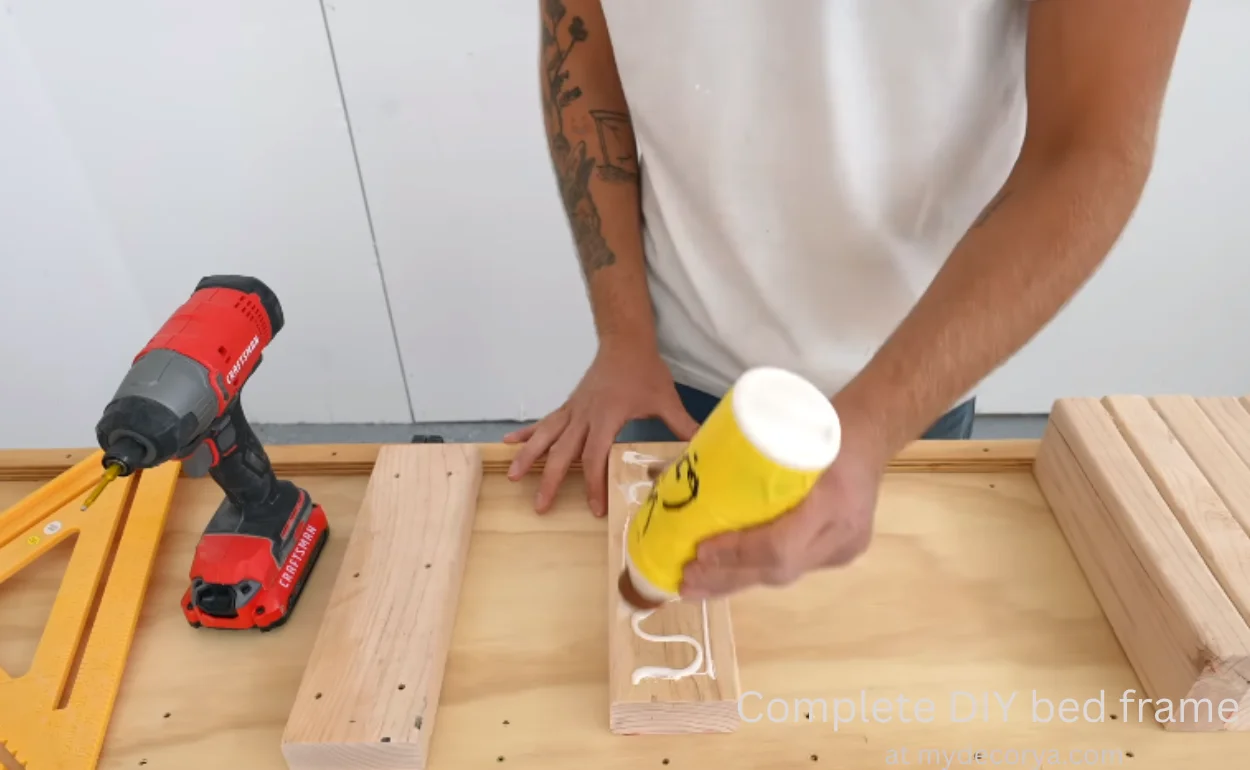
I just needed a couple of positive stops on one end of this glue-up, as well as one edge. That way, I’ve got a couple of straight reference edges that I could then trim everything square to. I did my best to mix up the grain of these boards so that I didn’t have two pieces from the same two by four next to each other, although I’m sure that happened a couple of times. And if you’re curious, I have given links to all of the materials and supplies above.
Step 6 of building a Diy bed frame
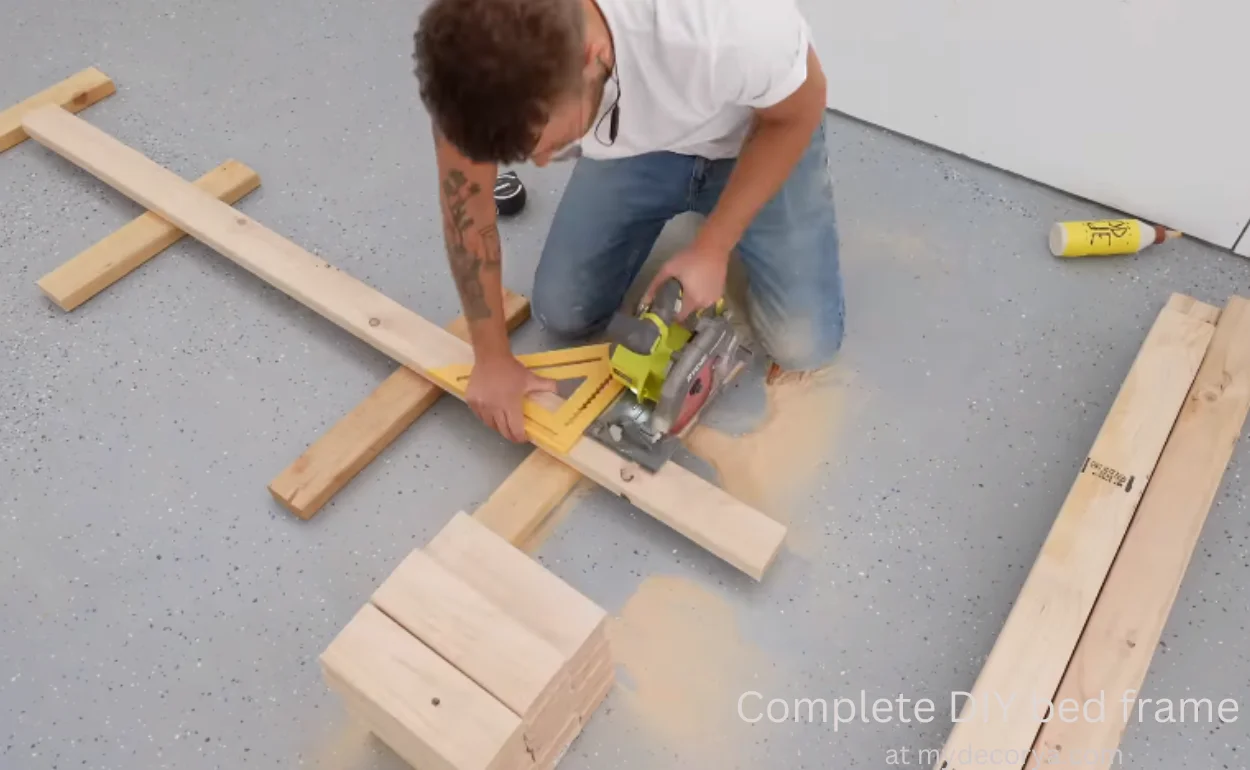
I let those glue-ups cure for about an hour, and then I ran over to my buddy Benue Ada’s place so that I could borrow his thickness planer and save a lot of time on belt sanding.

Then I used a circular saw to trim my pieces to their final height of nine inches. Like I mentioned.
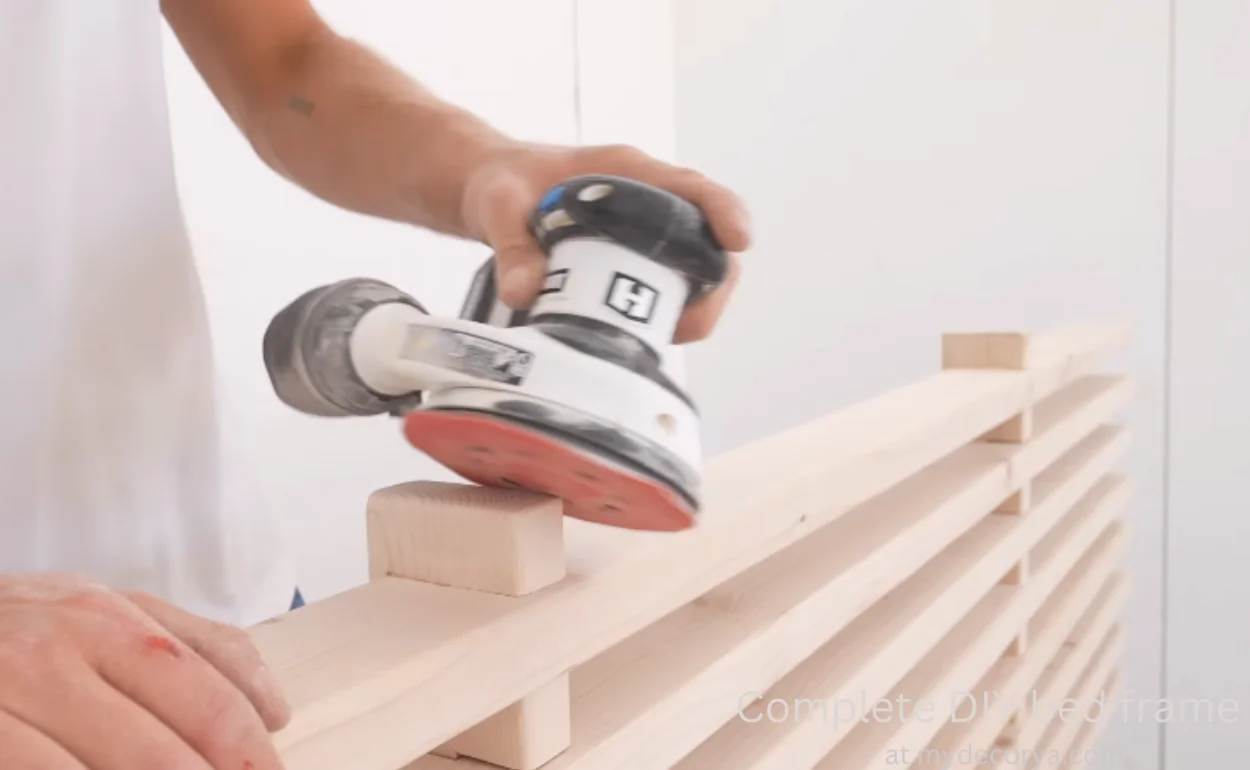
Step 7 of building a Diy bed frame
I took the time to sand these leg assemblies before I glued and screwed them to the platform. I also took the time to sand the two-by-fours before I made the platform.
This was really easy to line up, and I made sure to use these really long lag screws that way. It was a super strong connection, and now is a great time to get any warp or bend that you might have in your platform. So make sure and clamp it, stand on it, whatever you’ve got to do to get that flat. And with that, the base of our bed is complete.
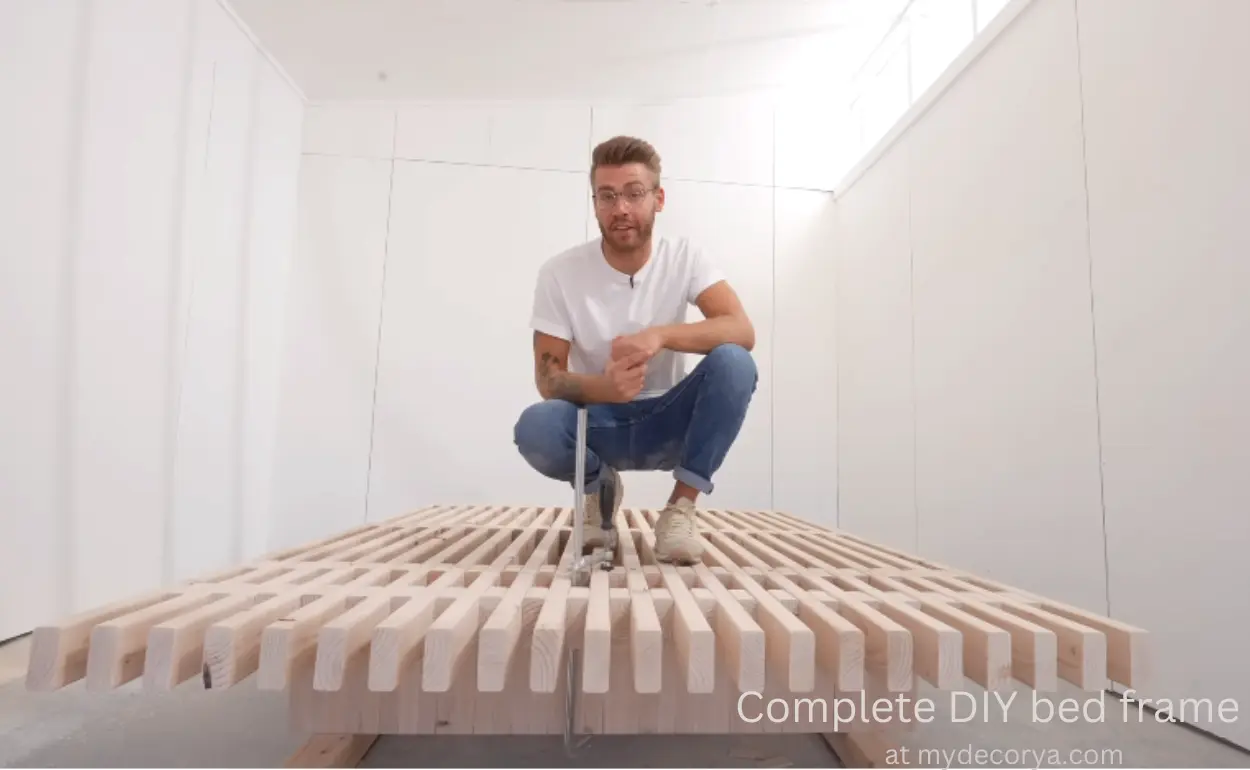
All right, so this platform looks fantastic. The spacing, the slats—everything is straight. And even just the way I was hoping.
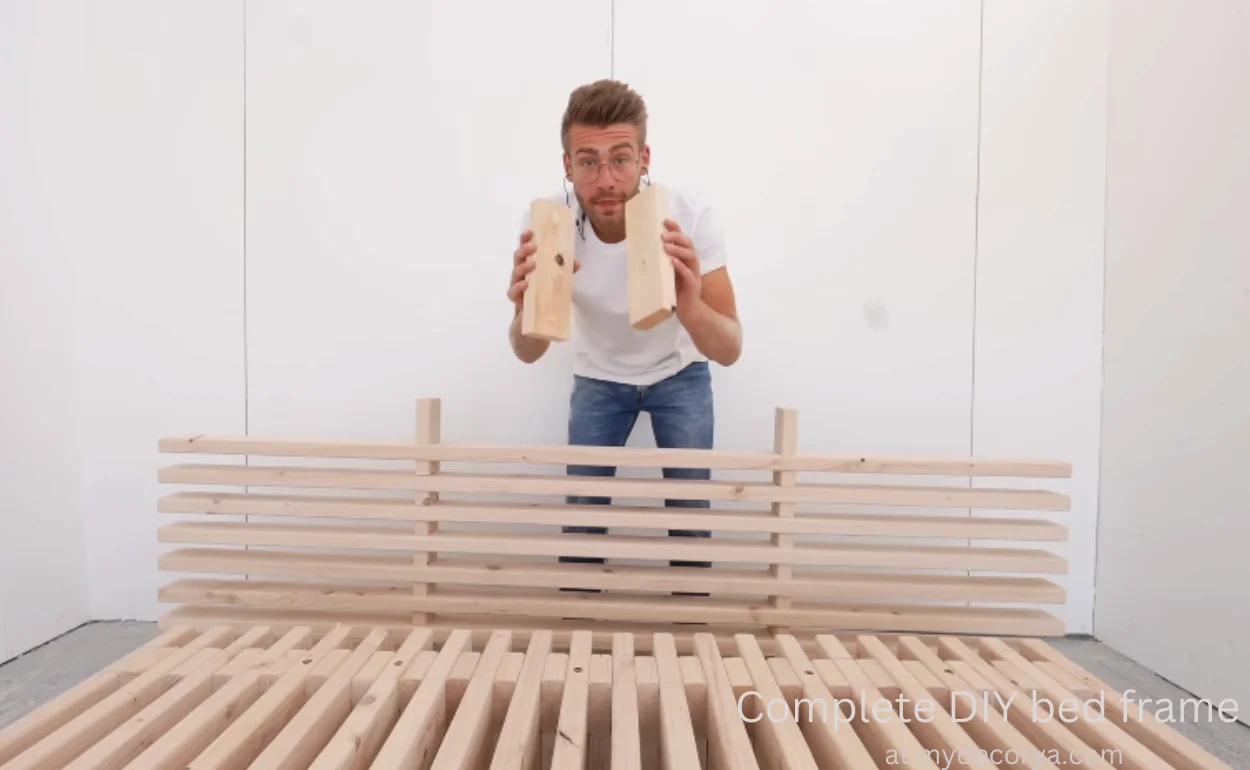
Step 8 of building a Diy bed frame
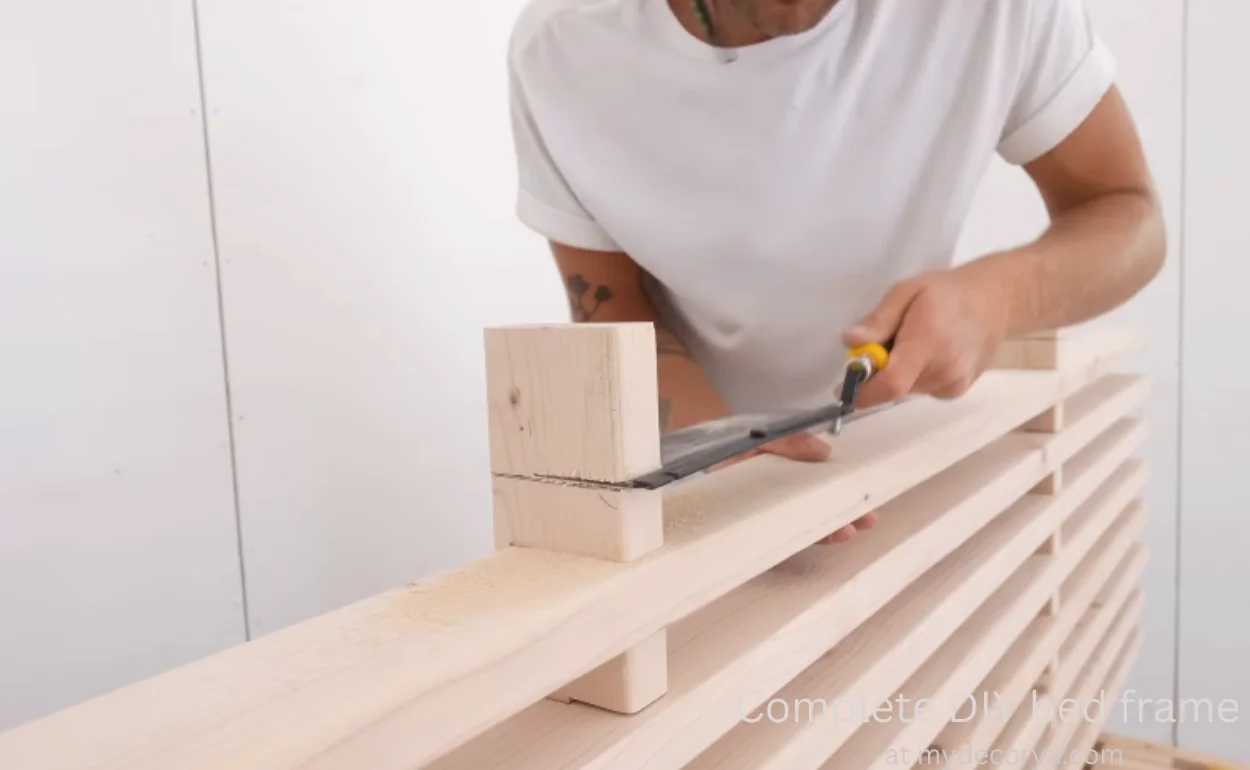
Now I’m going to move on to making the headboard. And you could easily do this in the same way of using these spacer blocks and stacking them up. But I want to do a little bit of woodworking. So today I’m going to show you all how to make half-lap joints. Using just a speed square and circular saw is a great utility joint, and it looks nice too. Let’s get started.
First, I grabbed one of those eight two-by-fours that we saved from earlier, and I made a mark where the fifth spacer is from each edge.
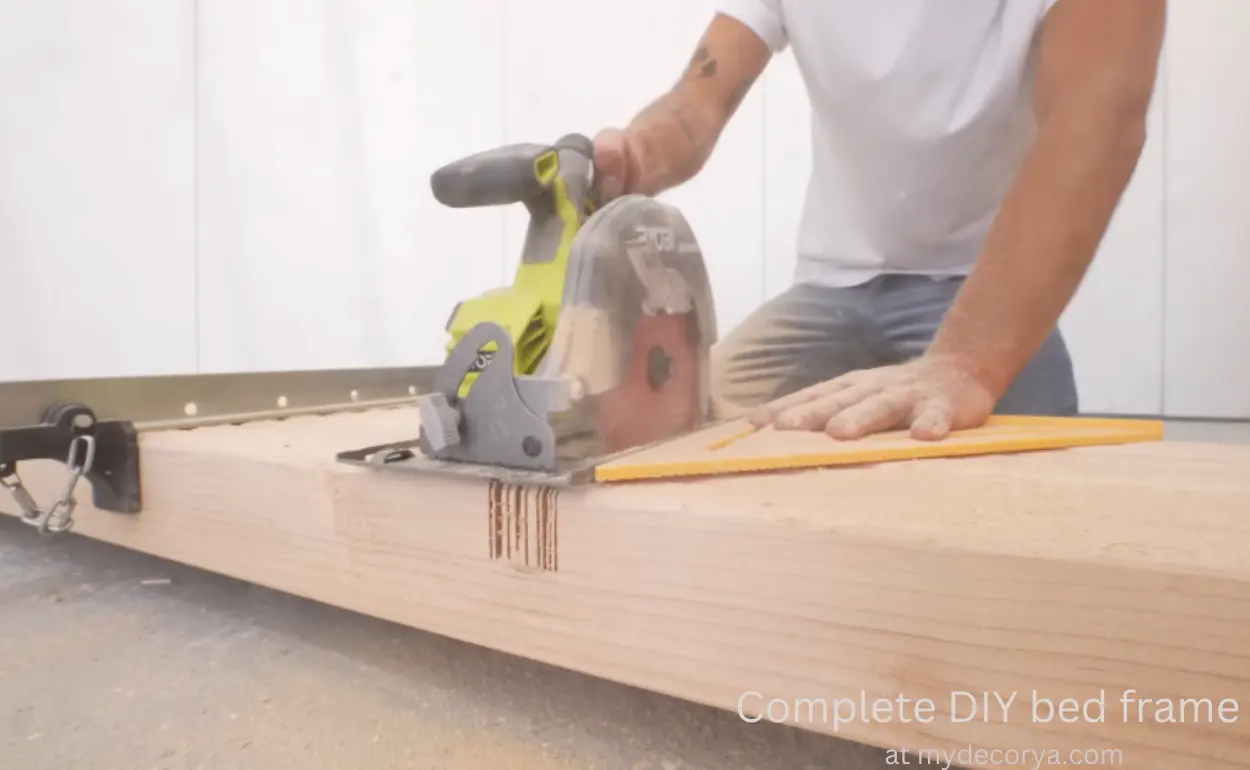
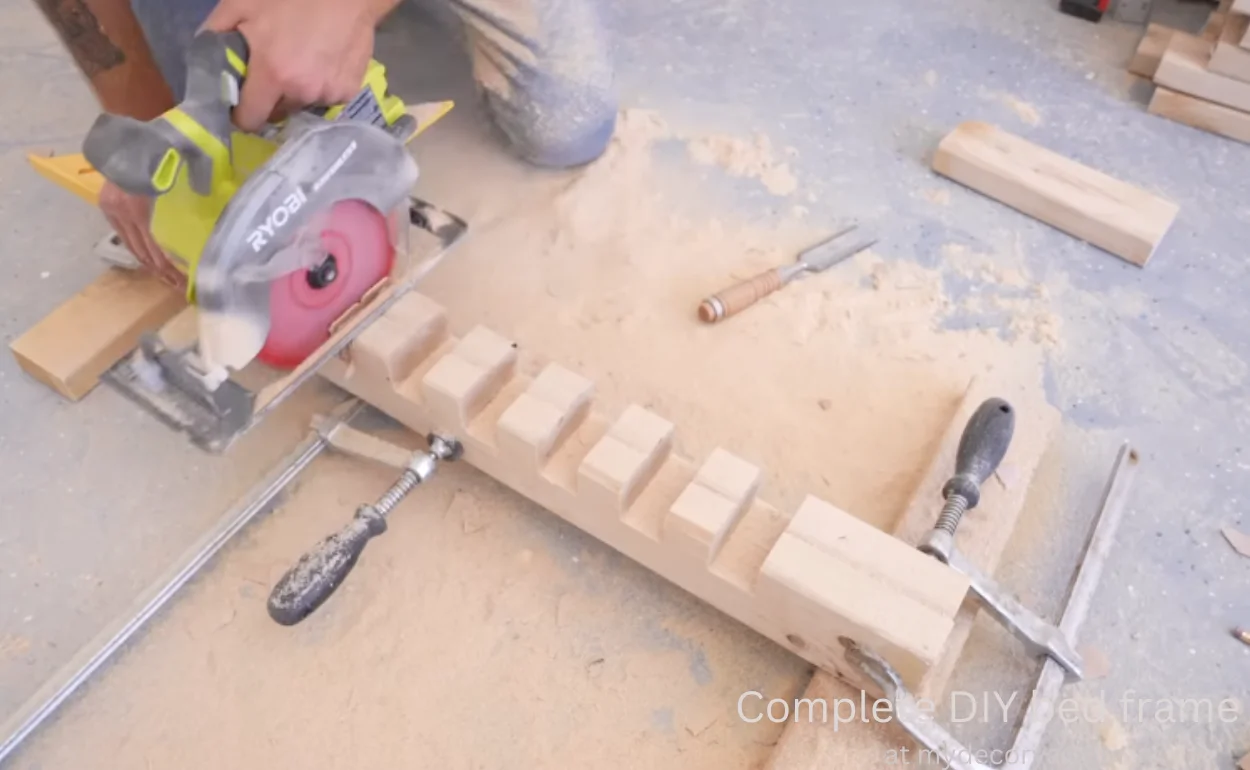
Then I grabbed all eight of our 88-inch-long two-by-fours, clamped them together, and set my circular saw to half the depth of those two-by-fours.

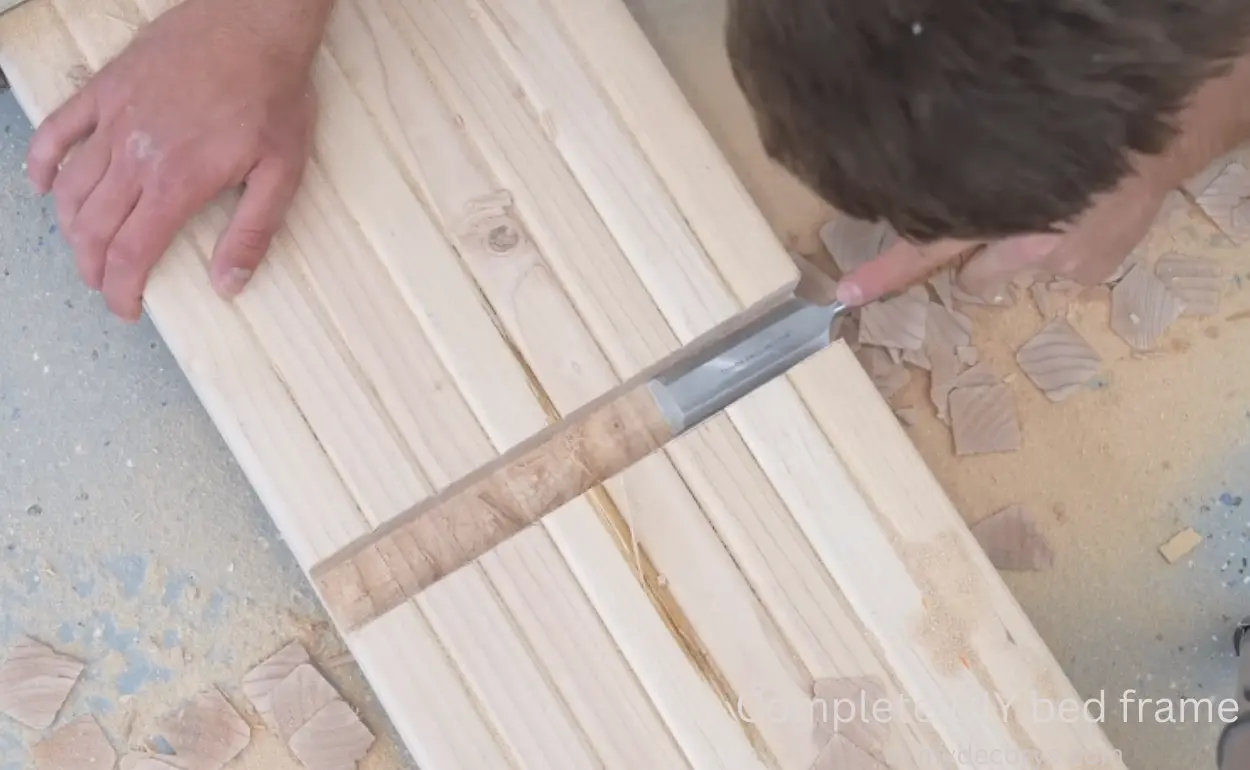
By doing multiple passes with the circular saw, I’m cutting a groove into each of these boards called a half lap. I’ll be able to come back with a chisel and clean everything up.
First I’ll use it to break off all of those pieces of wood, then clean up the whole joint so it fits a two by four with a little bit of wiggle room. I don’t want this to be too snug, otherwise it might be tough to get everything to line up, especially considering two by fours have a little bit of tension in them.
After cutting the first joint, it was a success. I rinsed and repeated the same steps on the second, and that worked just as well.
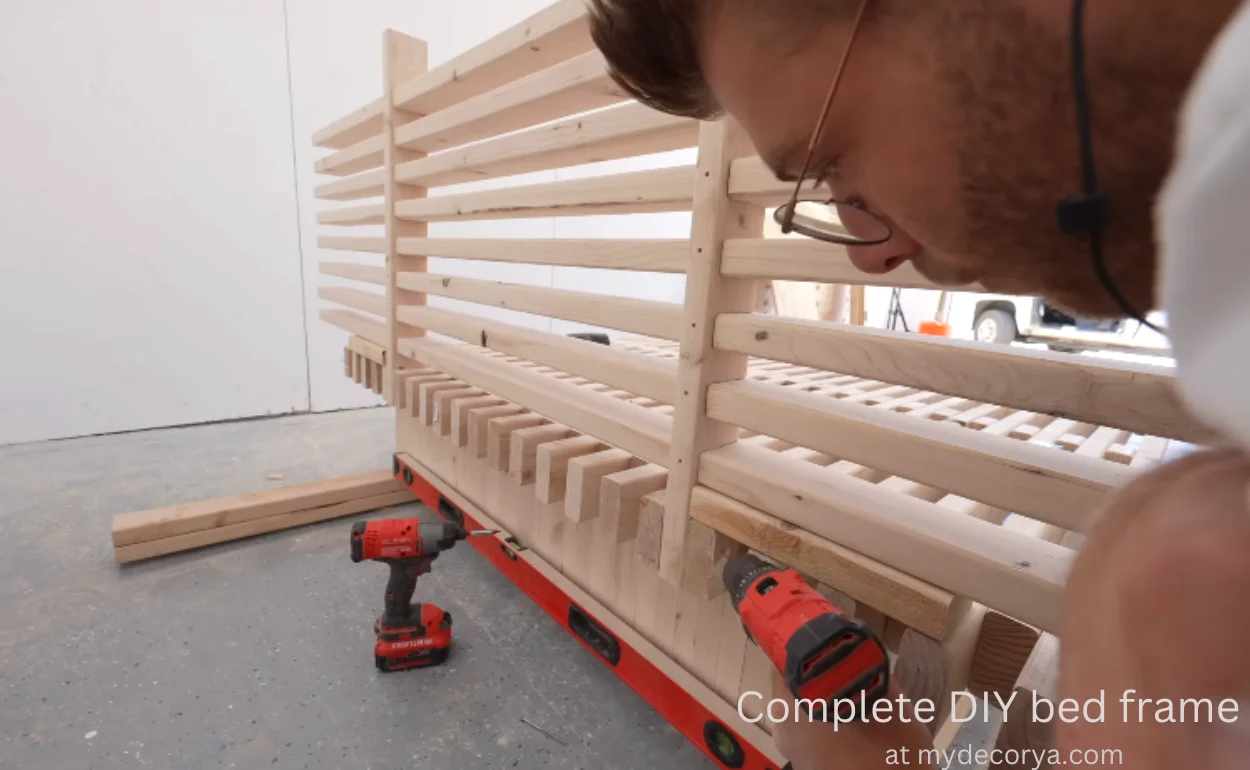
The two vertical supports for this headboard are going to need a lot more half laps cut into them. In fact, it’ll need eight, one for each of the slats.

I cut the second set of joints on these vertical supports a little bit less deep than I did on the horizontal slats. That way, the horizontal slats would be a little proud of the vertical supports and give them a super-pro look.
If that’s a little confusing now, just wait until the reveal and you’ll see what I’m talking about. I couldn’t have asked for this headboard assembly to go any smoother. I just put a dab of glue in each of my joints and a trim head screw on the back where each piece met. And even though making all of these joints did take a while, the assembly process was way quicker than the platform because all of my pieces went together on their own square.

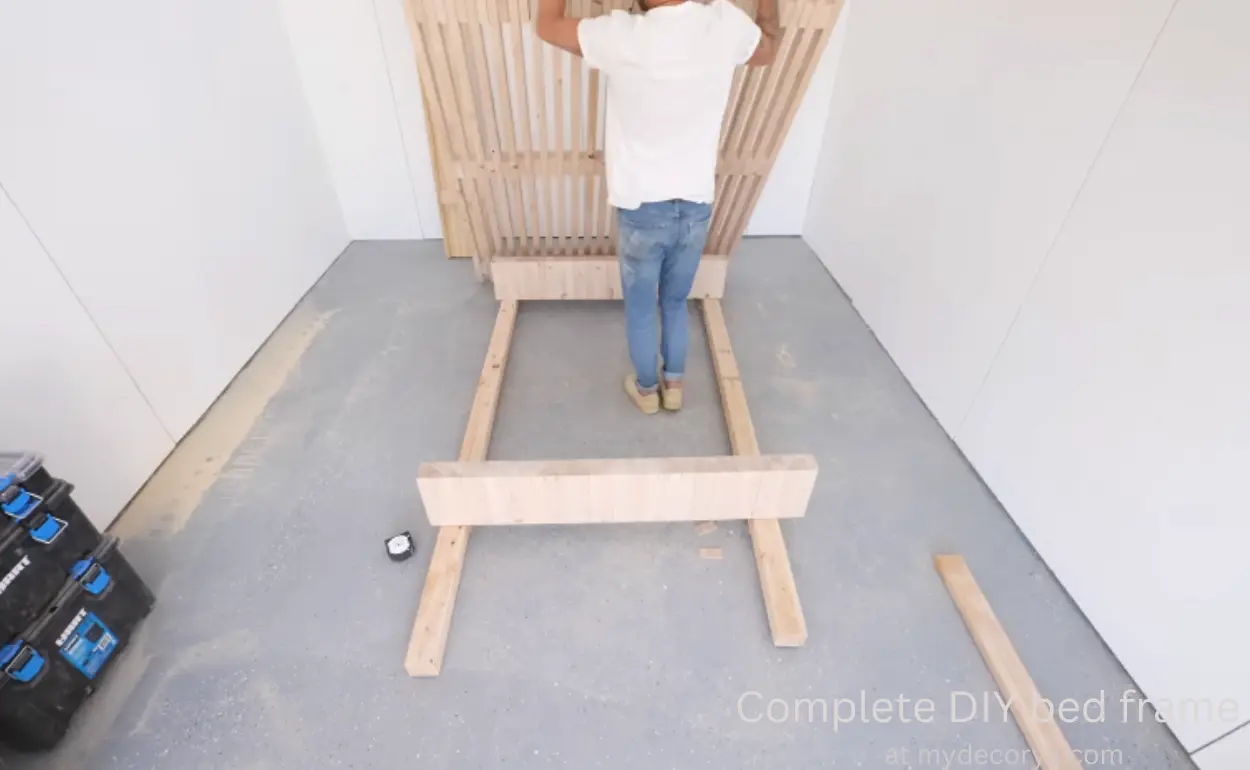
And I used these two by fours to make sure the first slat was an inch and a half above our platform.
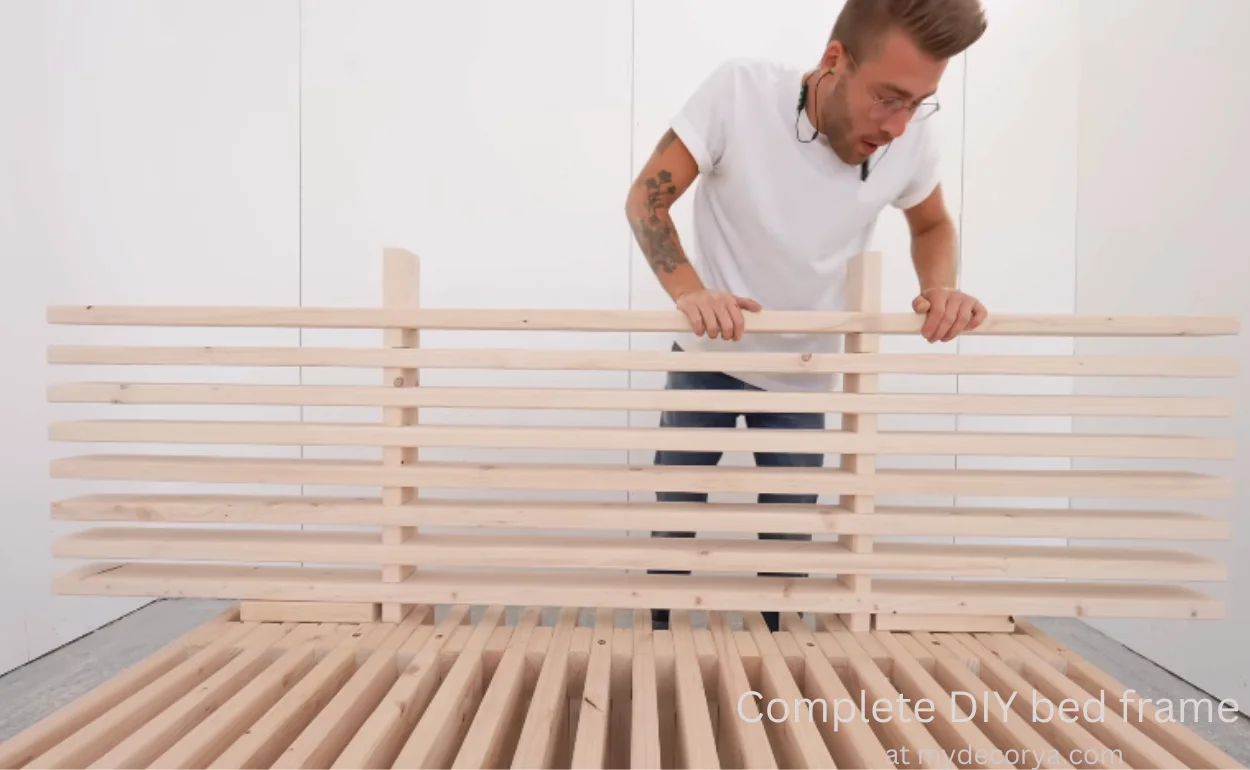
Oh. Let’s go
That’s it. Perfect. Super bro.
Step 9 of building a Diy bed frame
But just like on the leg assemblies, I cut the vertical supports for the headboard a little long so that I could trim them later. They stick past that last slat by an inch and a half. I sanded everything up to 150 grit.
and then I made sure to apply a coat of water based polyurethane to protect all of my visible boards. And with that, this project is done.
Step 10 of building a Diy bed frame
In this final step, you will just rest and sleep on your own DIY bed frame because you have built it very hard and you must need some rest. Just kidding!
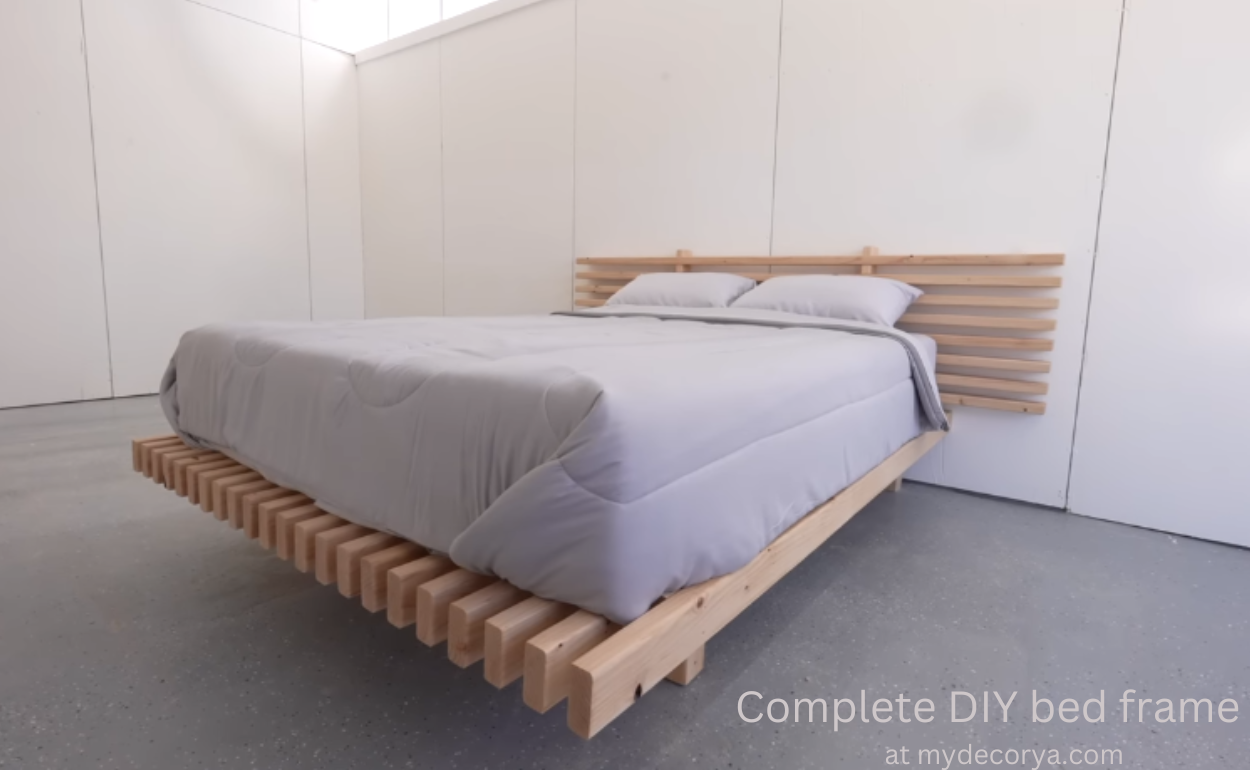
Conclusion about how to build a bed frame?
I am a big fan of this simple wooden bed frame right now. I’m working on this design study, trying to come up with cool ideas all around for two-by-four furniture. And I love all of the negative space between these slats. And considering you can build this whole project with just a circular saw and a drill, I am super excited.
If any of y’all out there decide to build this project for yourself, make sure to mention our site, mydecorya and also upload pictures of your DIY bed frame in the comment section or email us. So thanks a lot for reading.
If you enjoyed this project, I’m going to be doing a lot more beginner DIY projects in the near future, so stay tuned and we’ll see you next time on mydecorya.
You will love to read;


You May Also Like

Top 10 home decor stores in compton CA

Top 10 home decor stores in Modesto CA